Cedar Deck pt. 1
A nail-down cedar deck with galvanized cut nails and boiled linseed oil finish.
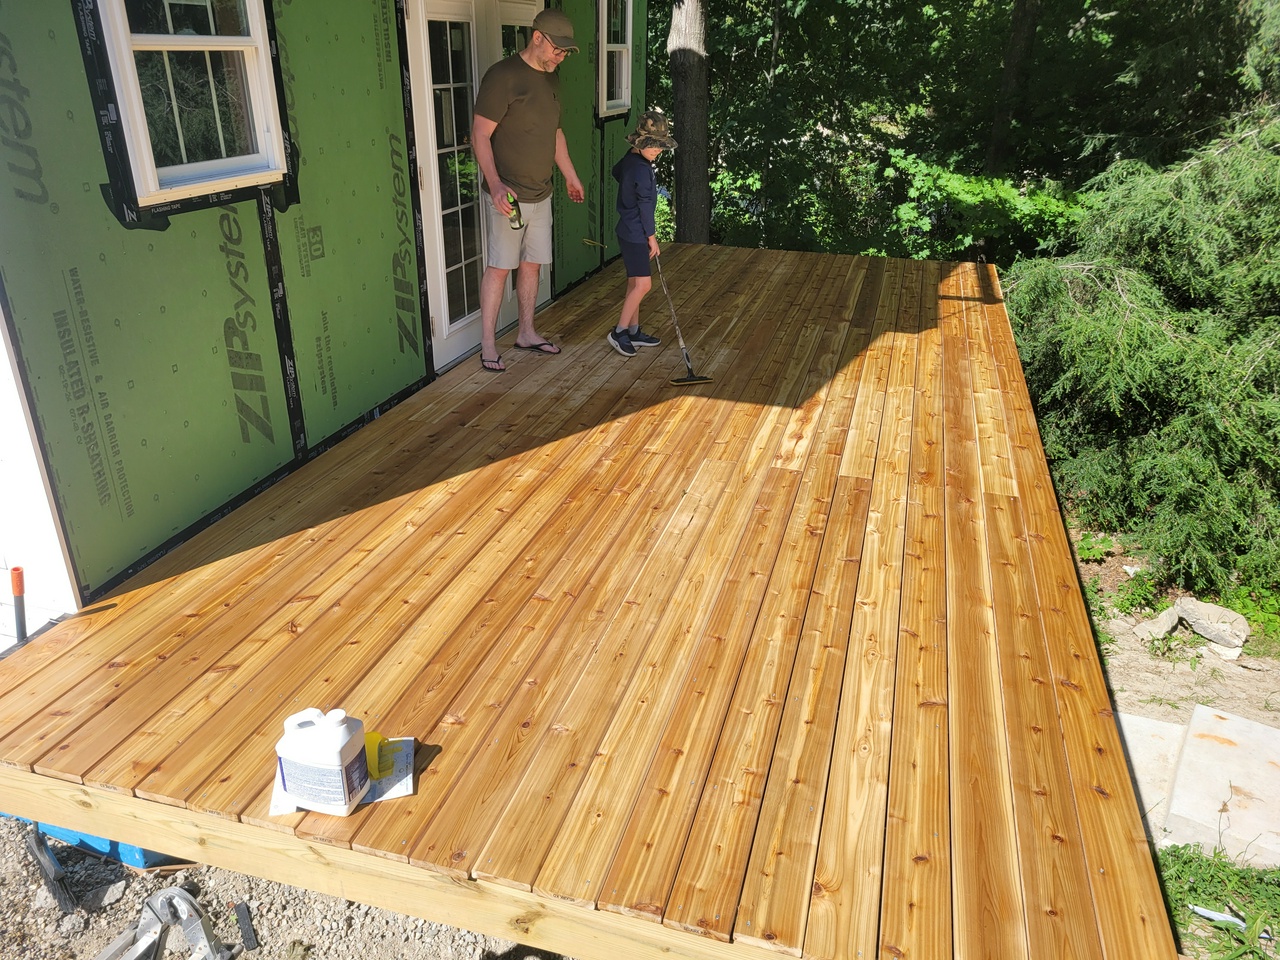
The deck measures 24' wide, so layout is based on 16' and 8' board lengths which helps optimize material use (zero waste) and simplifies installation.
This article is part 1 of a series and will document the building of the finished elements of the deck including hand-nailed western red cedar 5/4x6 deck boards, black iron posts, and cedar railing with balluster components TBD.
The finish will simply be boiled linseed oil and beeswax, which leaves rich color and a soft matte finish. The ingredients for the finish can be bought at any hardare store and are non-toxic. The surface will develop a patina over the years through use, but easy, periodic reapplication of the finish adds a yearly rejuvanation. As cedar is naturally and amazingly resistant to rot and insects, the surface will last for many years.
Layout the 16' boards.
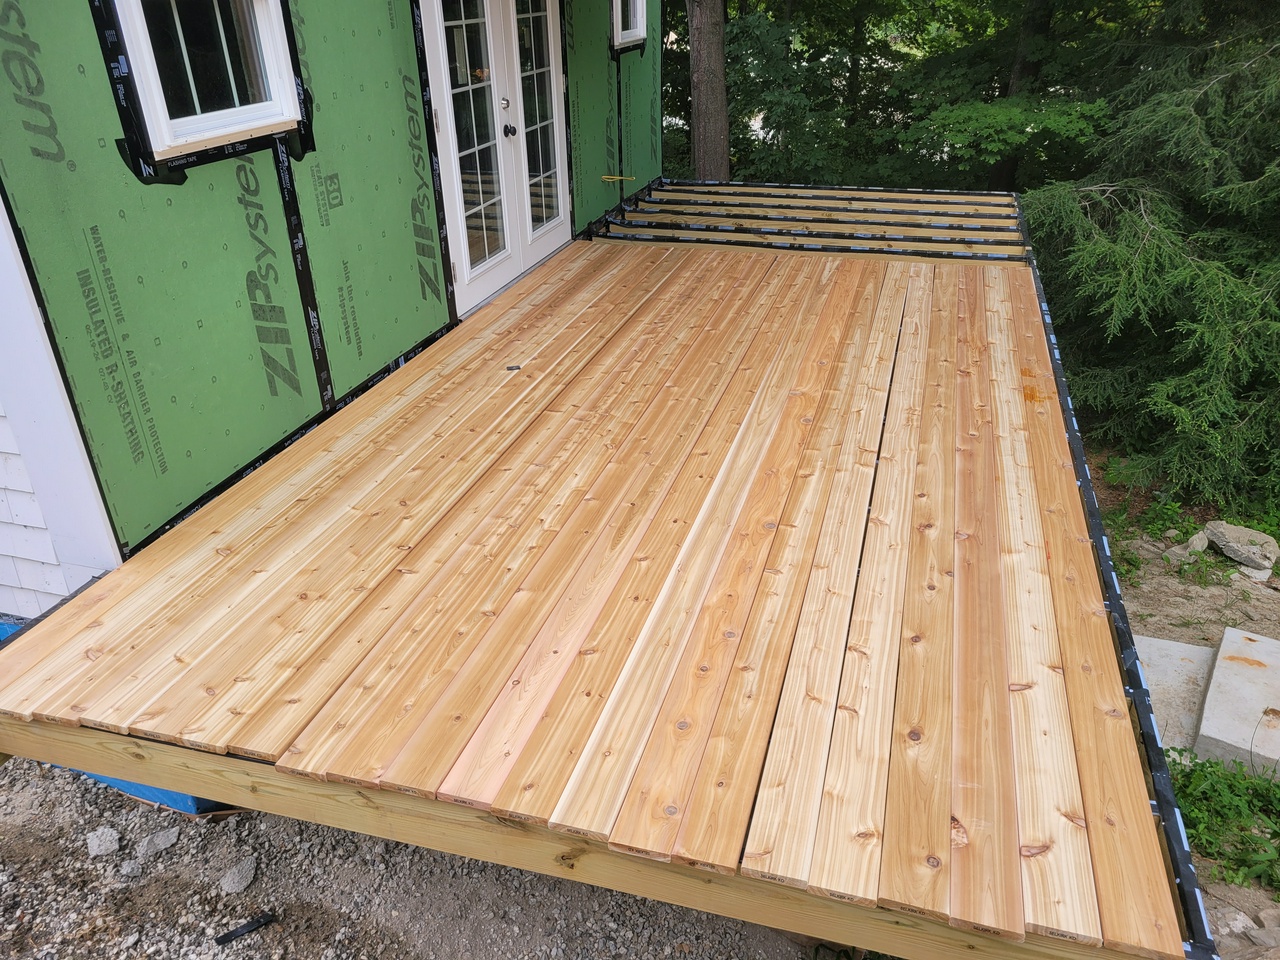
Cut remainging 16' boards in half.
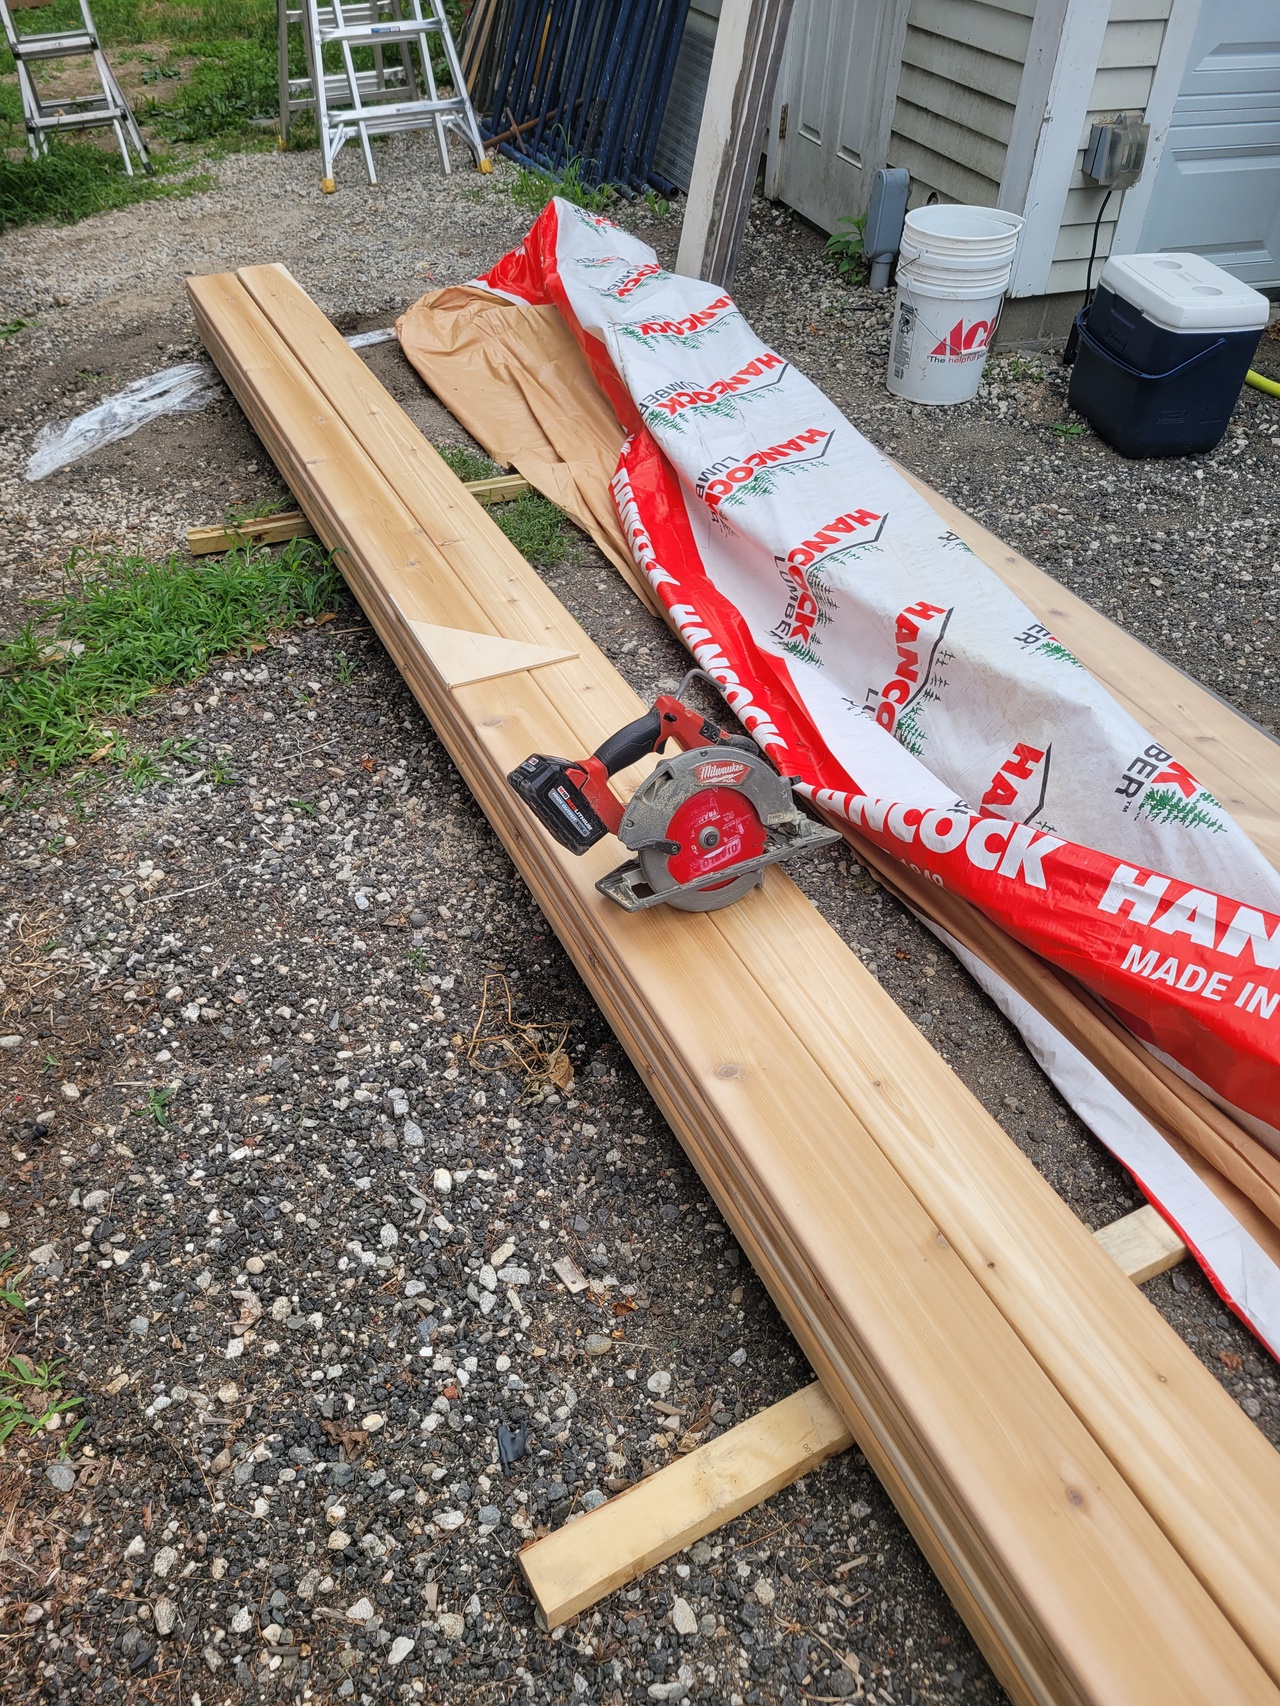
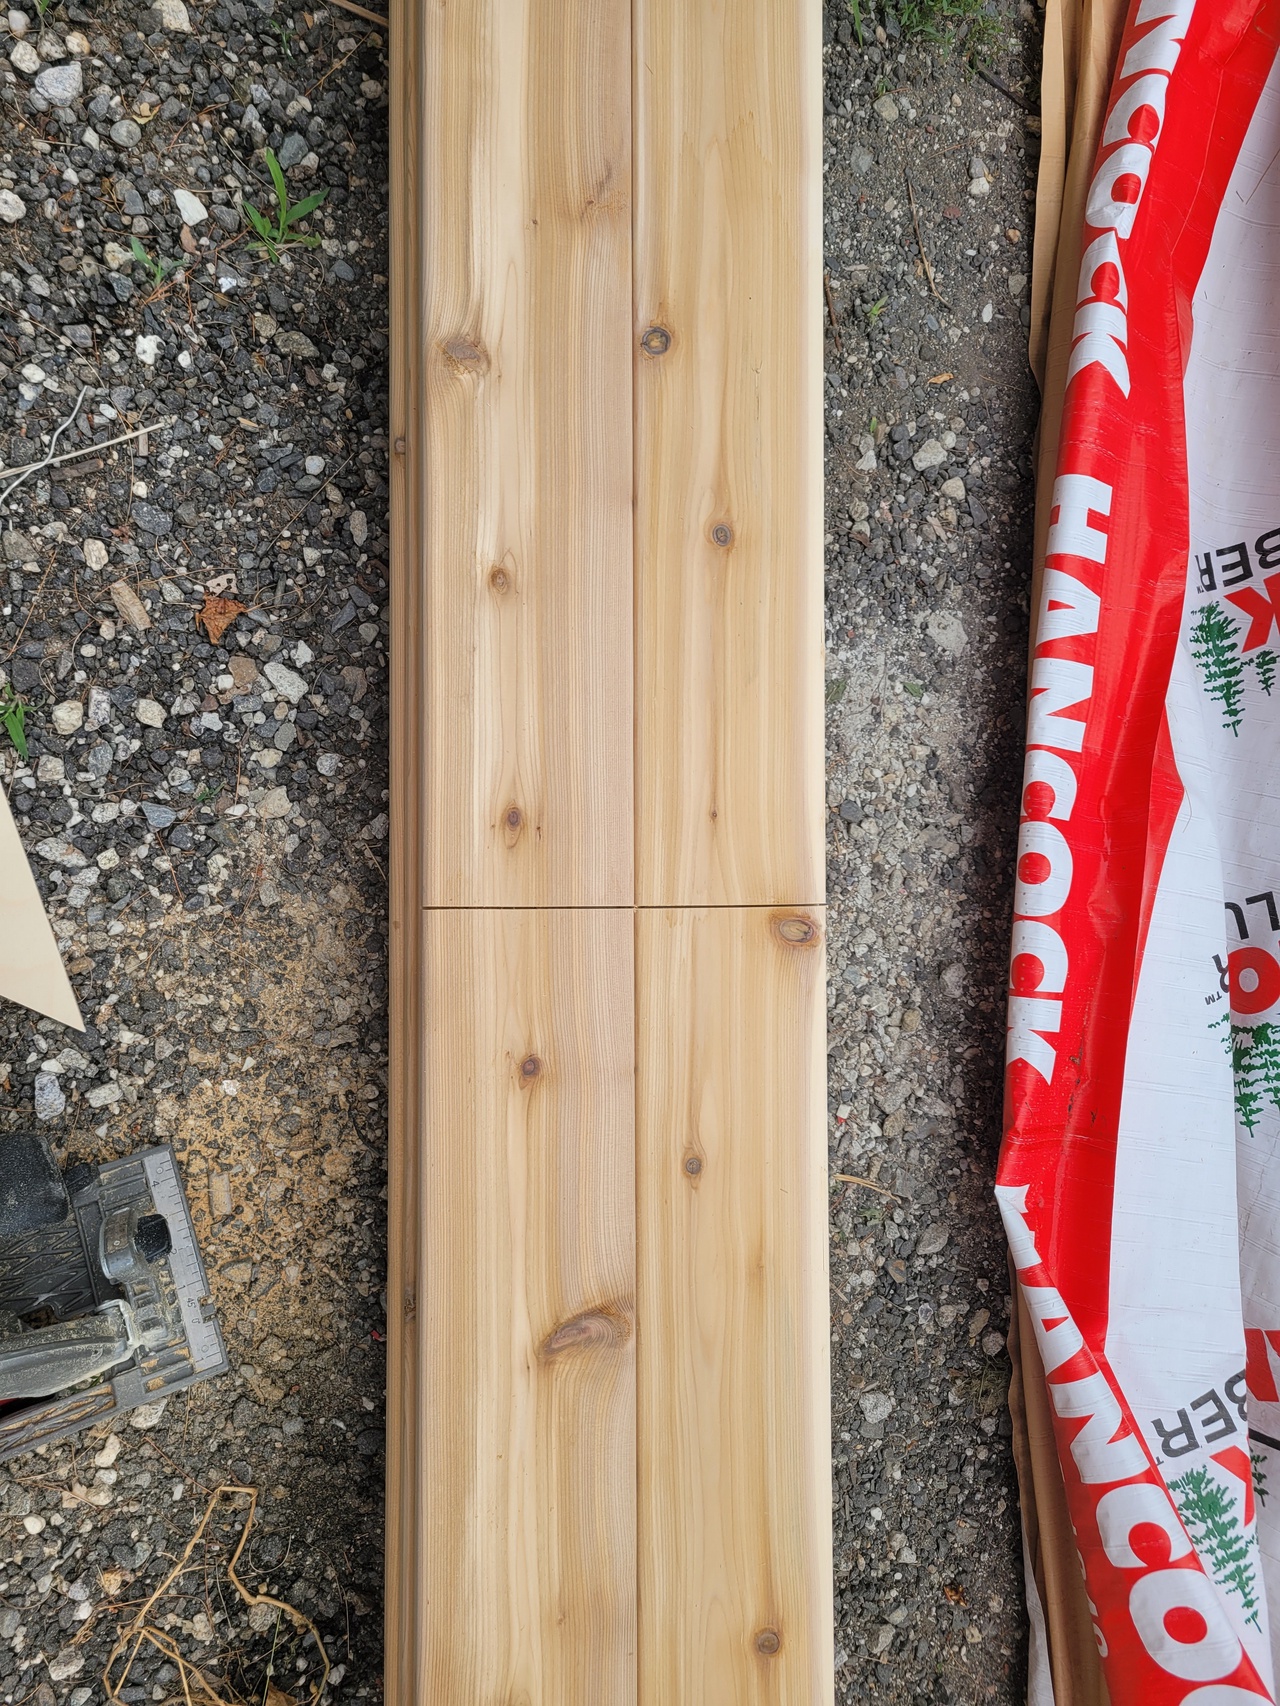
Saw depth is set to cut two boards thick at two boards wide- four cut at once and a cut line left on the next two.
8' boards then laced in place to finish the layout. This is the underside of the boards.
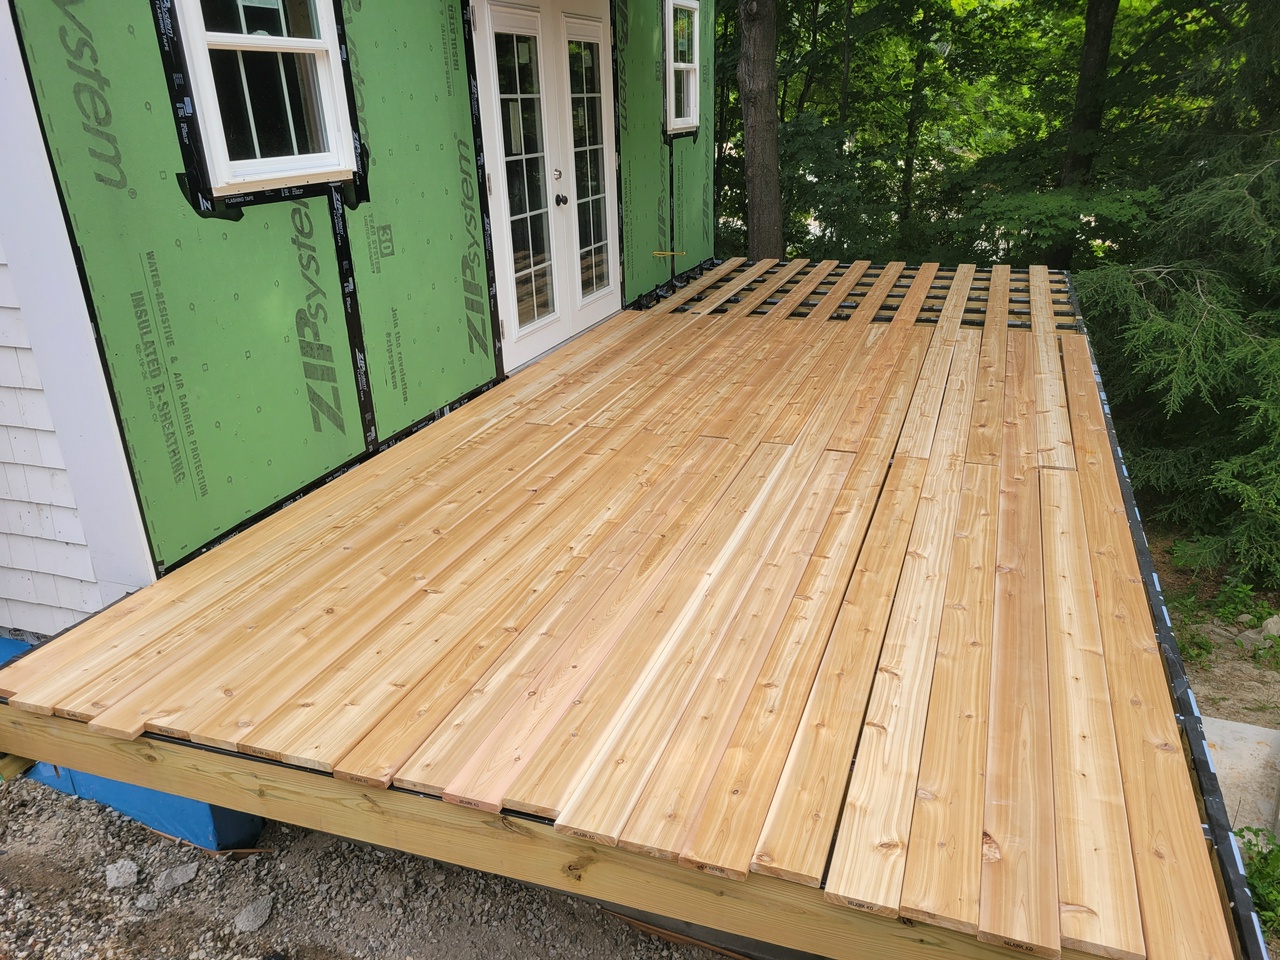
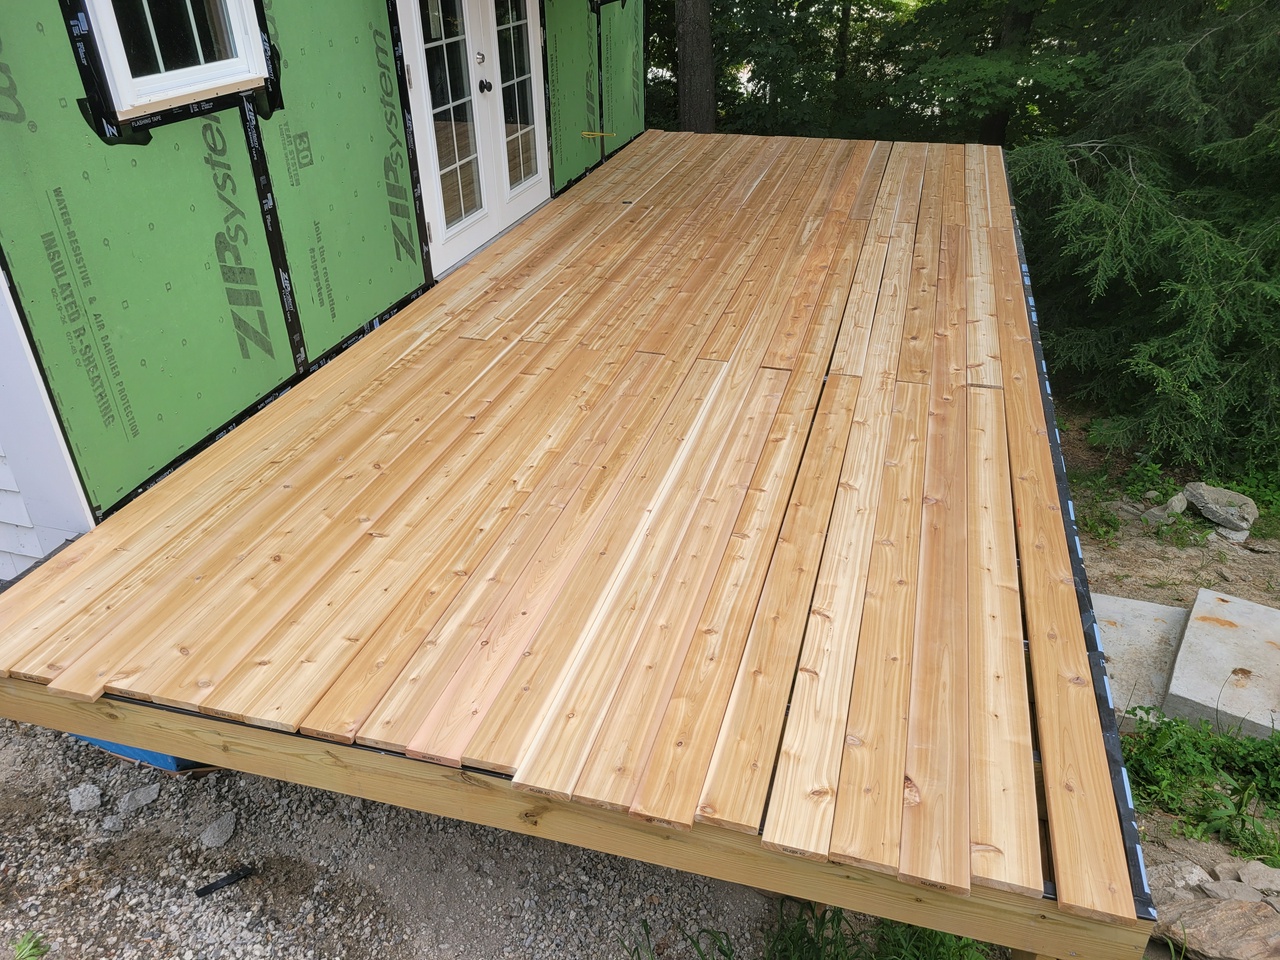
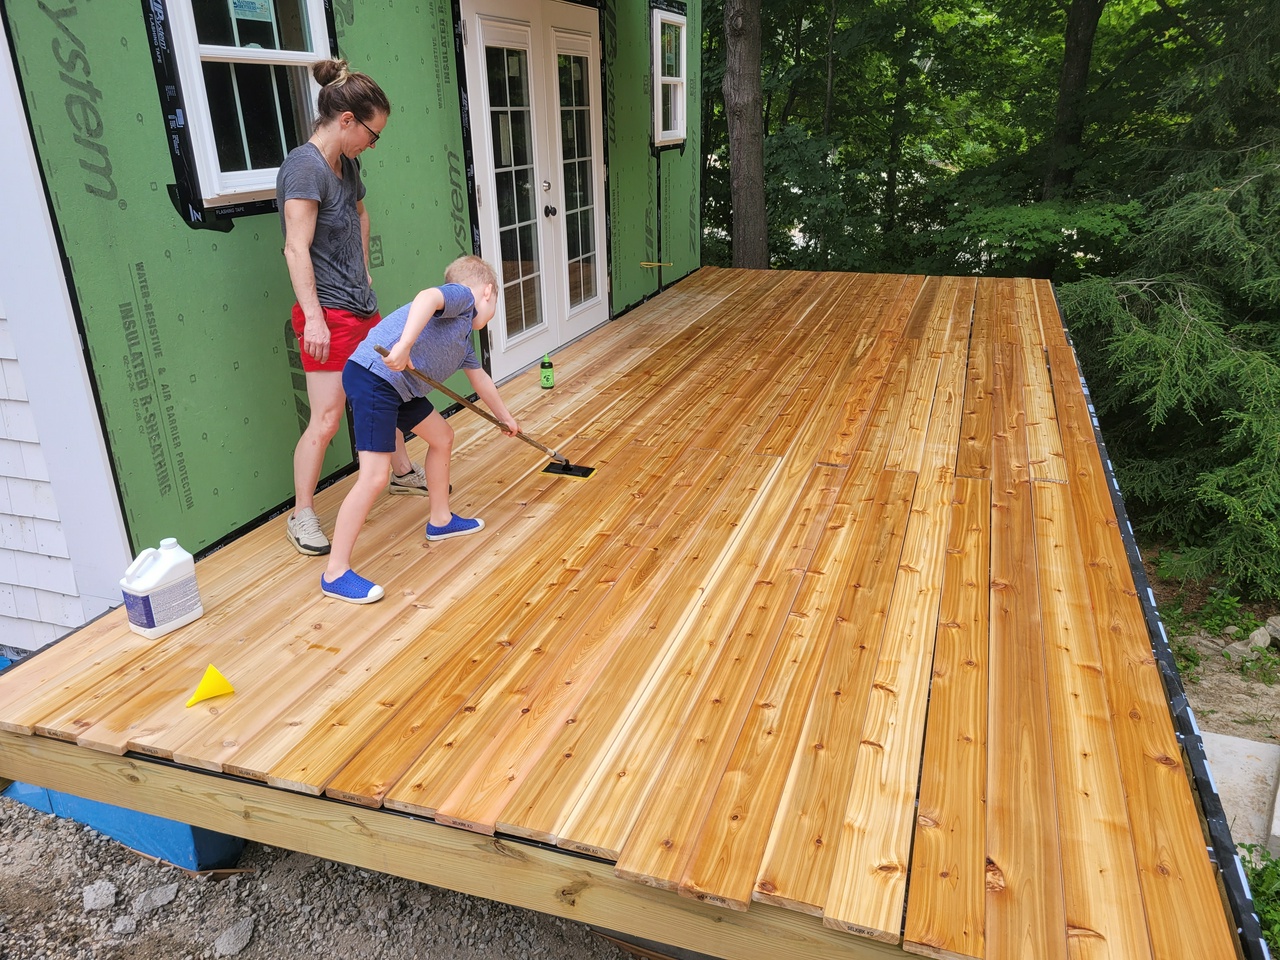
Using boiled linseed oil (BLO) as the finish for water replency and patina developement. requires periodic, easy reapplication.
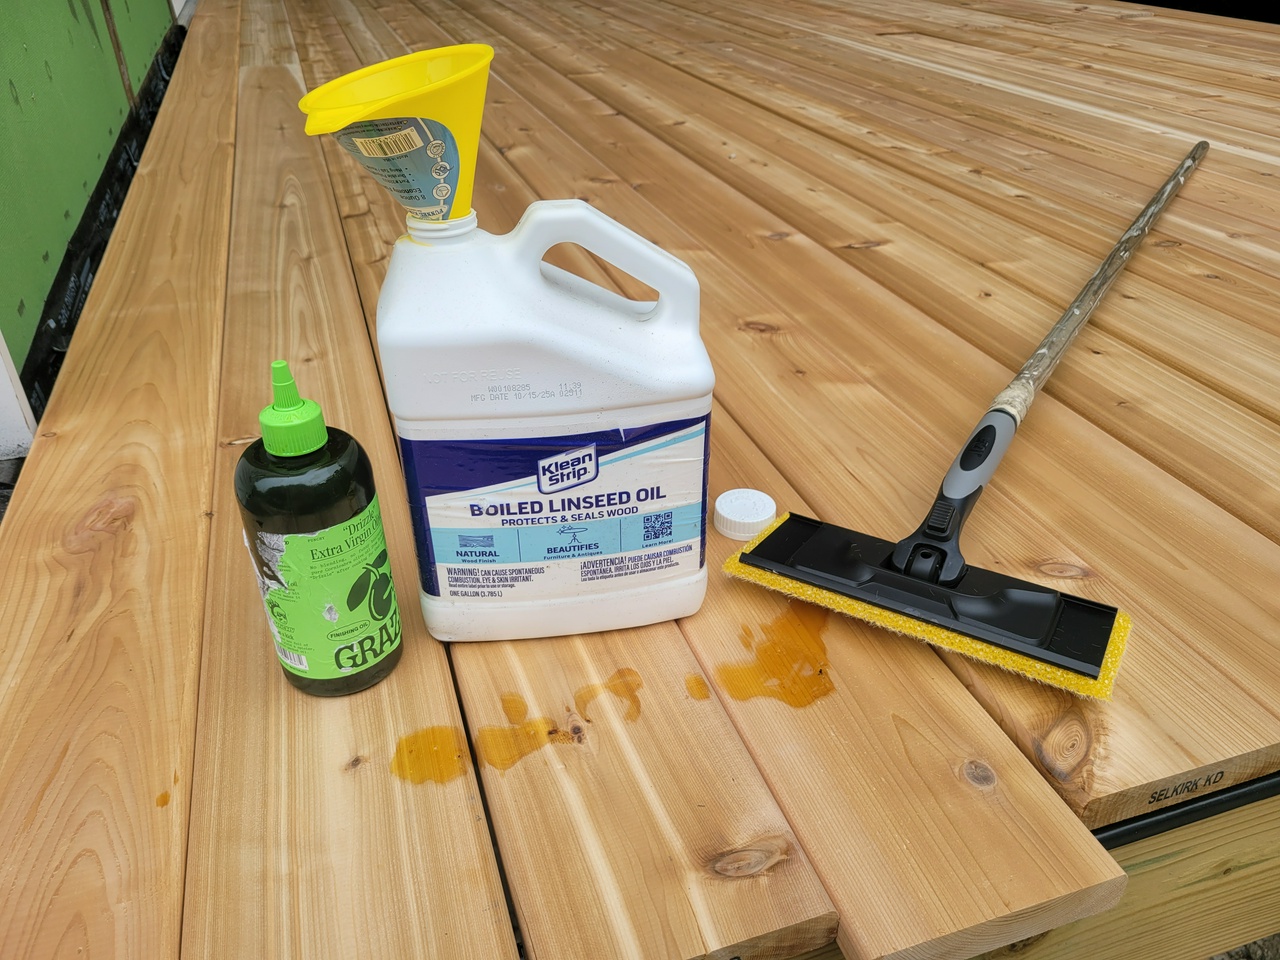
Swab the decks, matey.
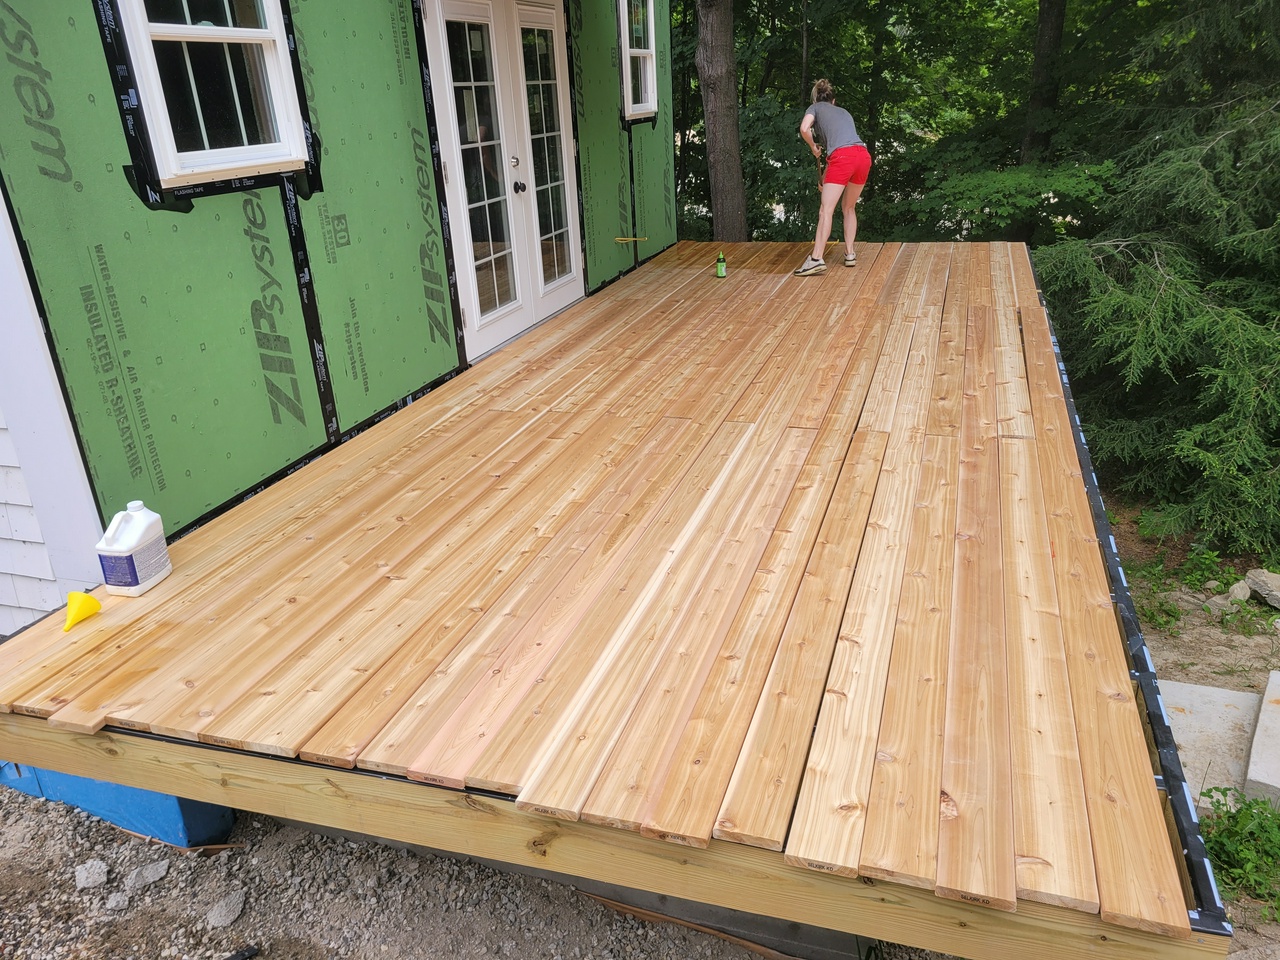
Skipper and first mate, the Houston Oiler.
Boards are now flipped for installation with undersides coated.
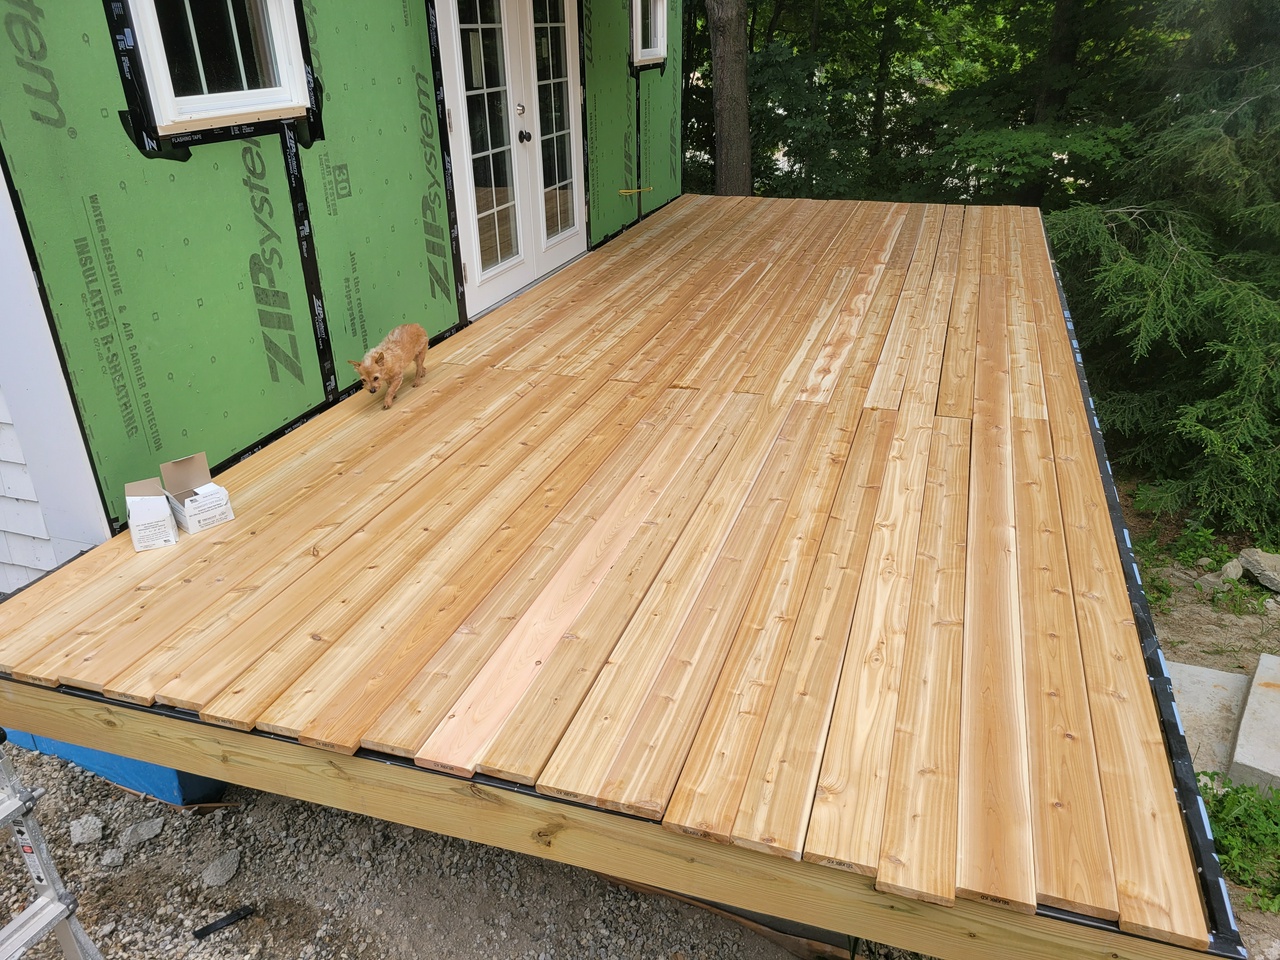
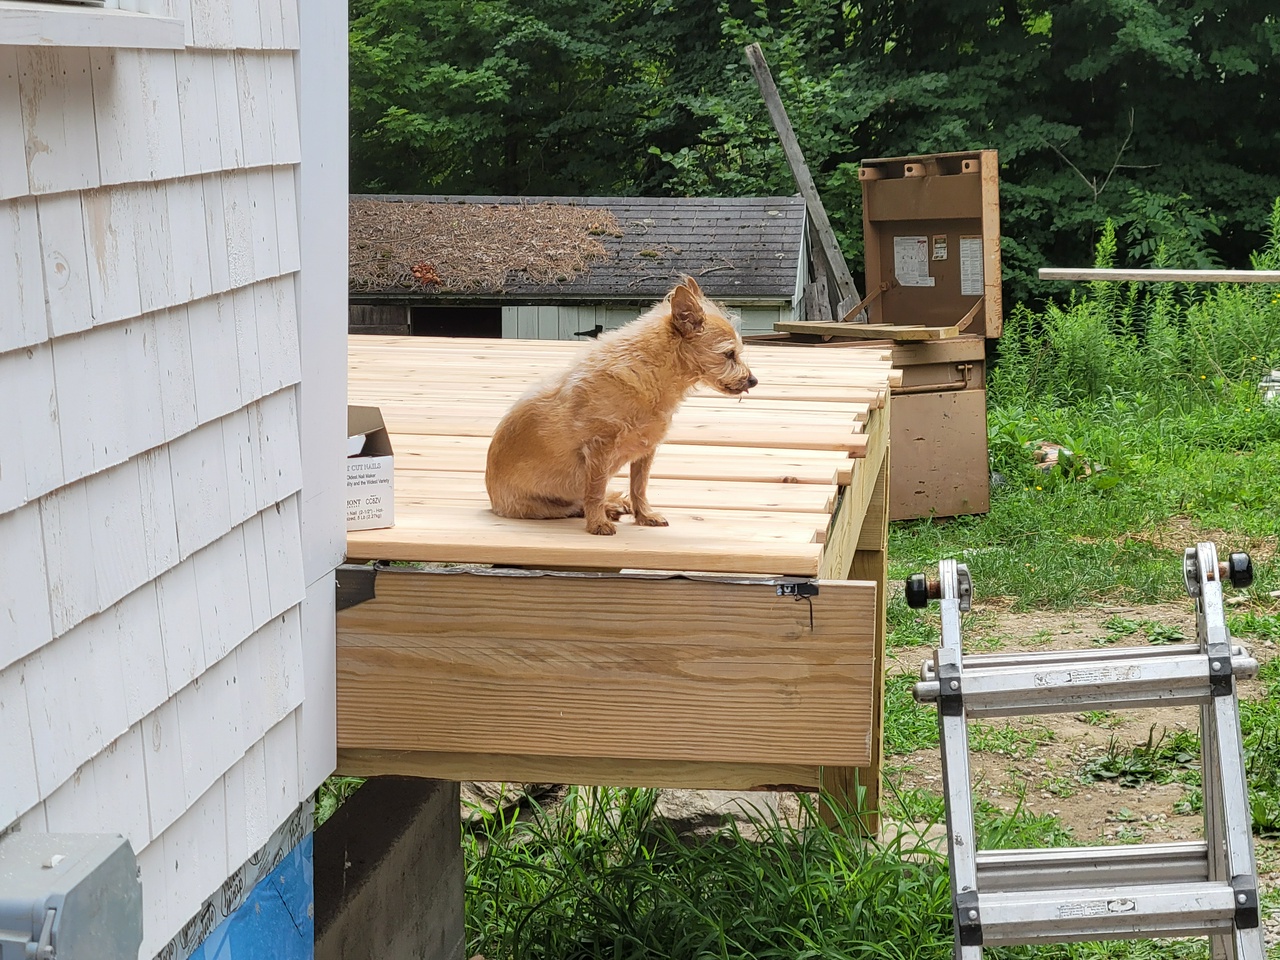
Moral support.
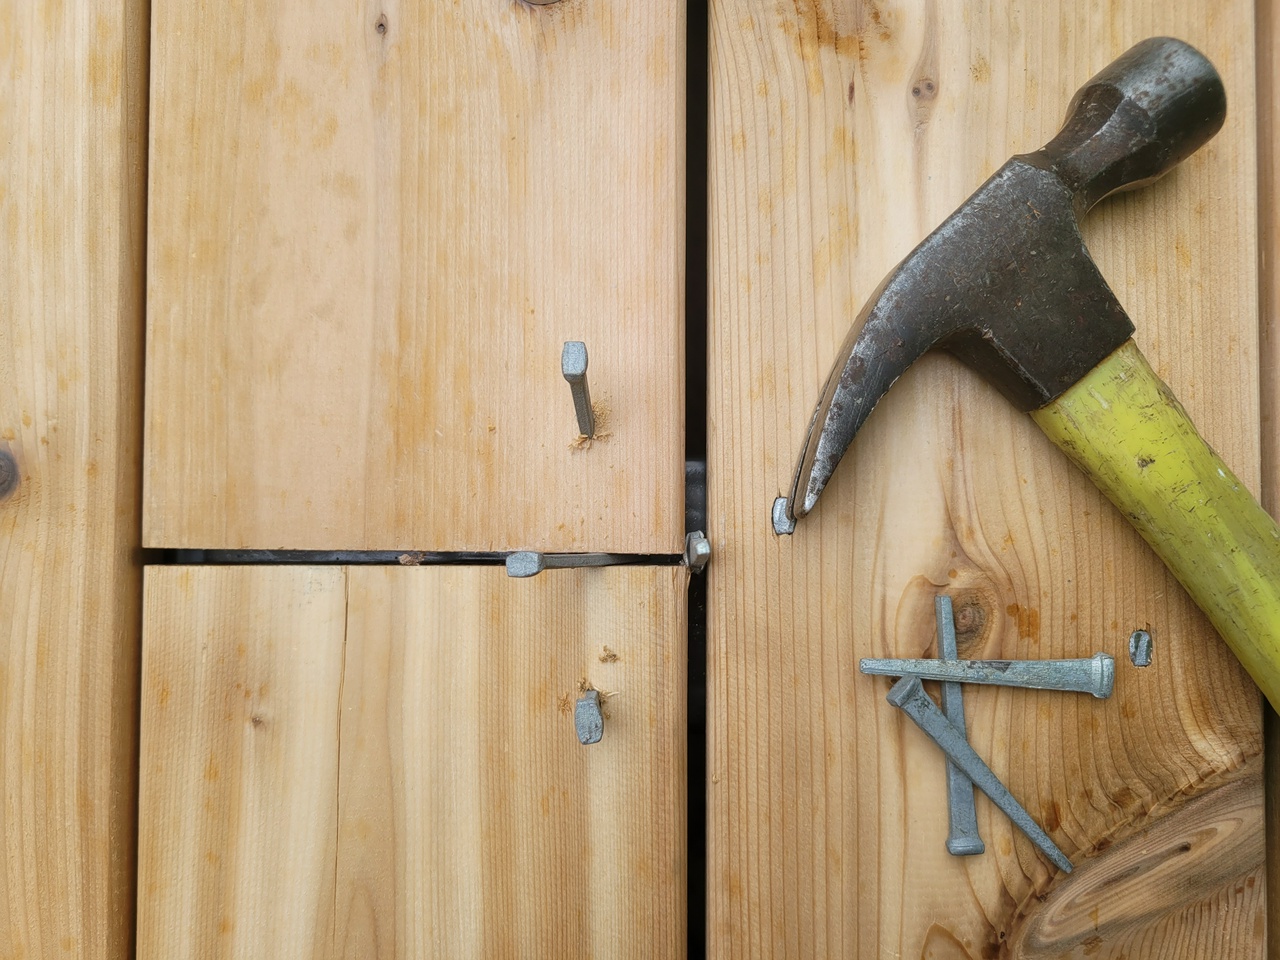
Using galvanized cut nails for a hand-nailed floor feel.
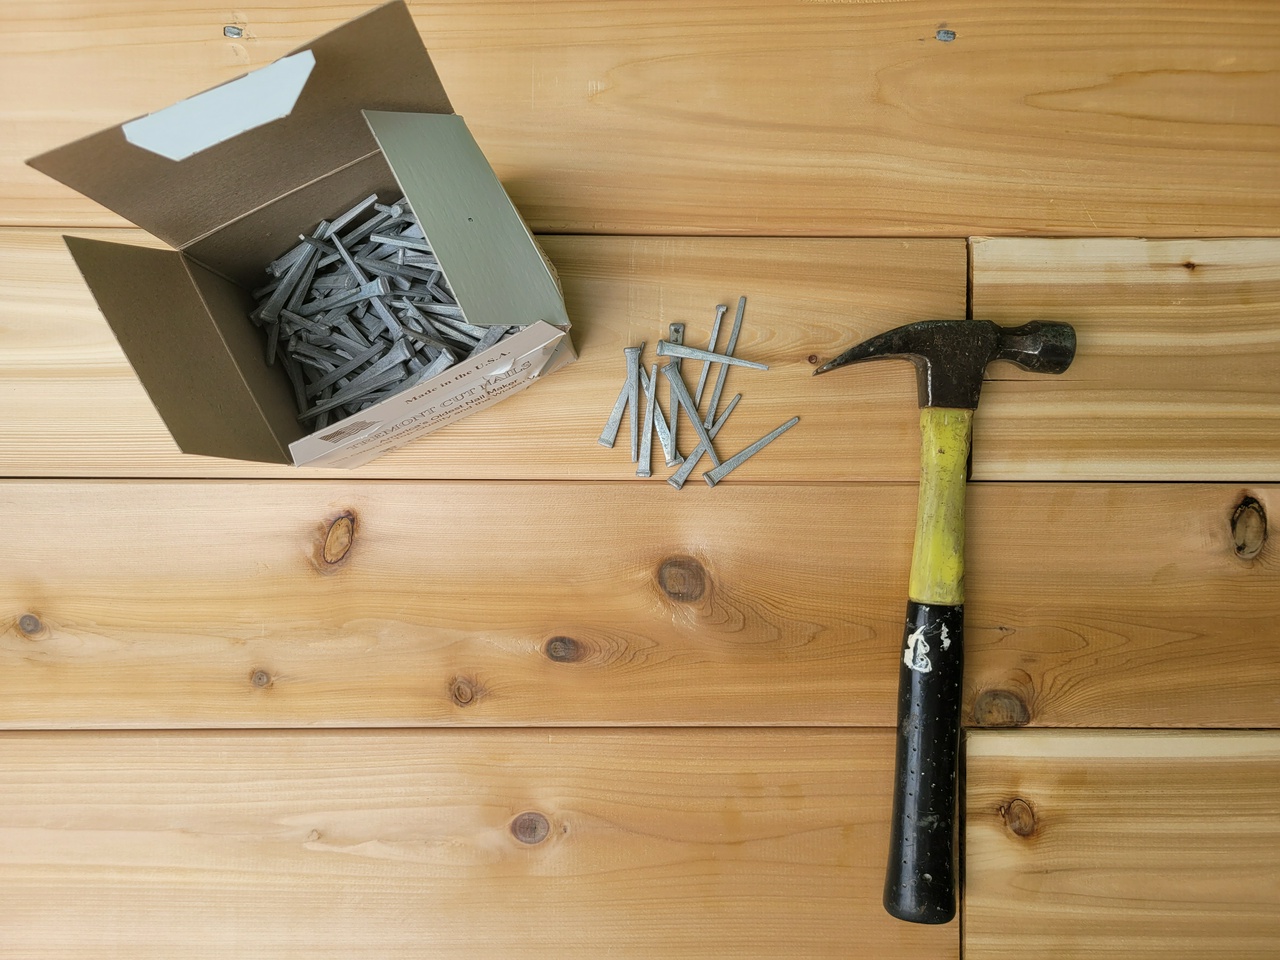
Shaft of nail approx 1/8” and head approx ¼” can be used to set gaps.
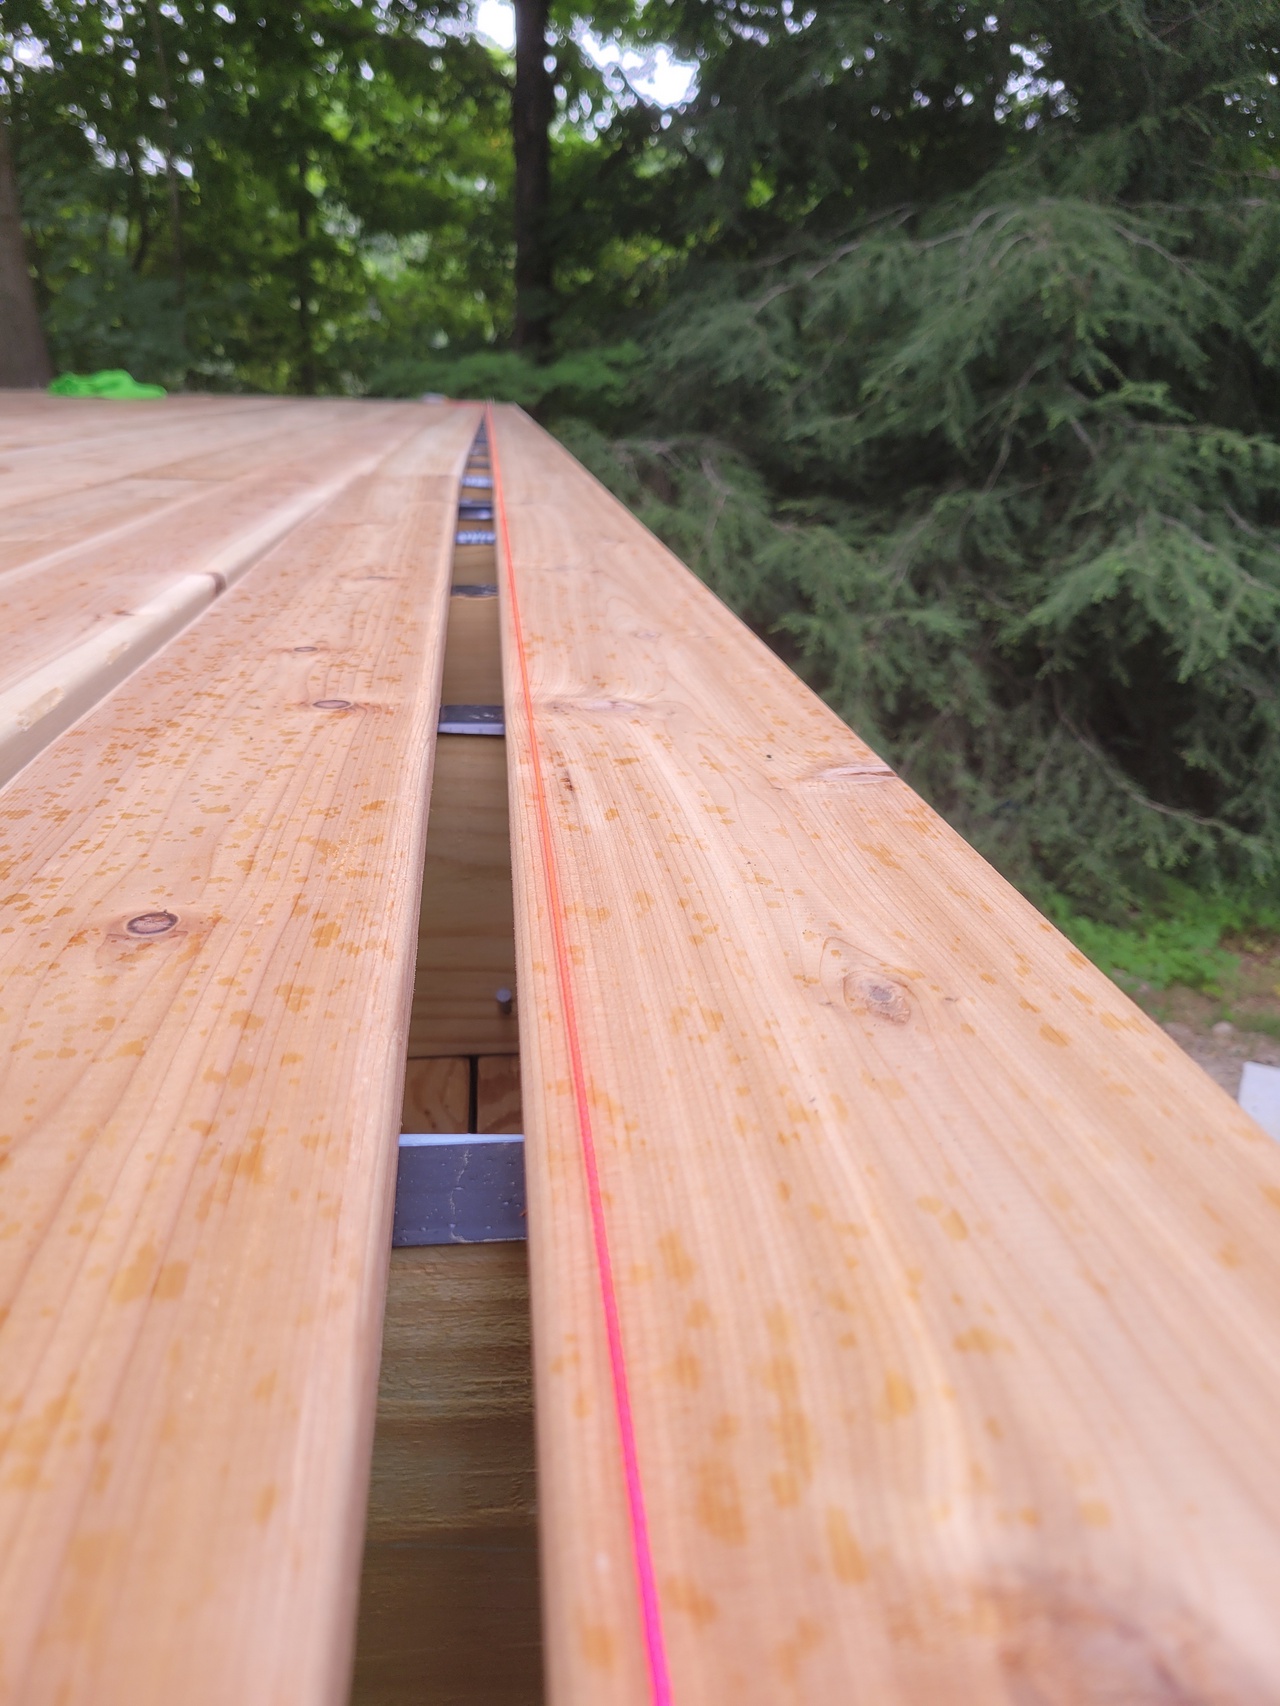
Important to set a control line which can be used to ensure the boards are running true. Check periodically.
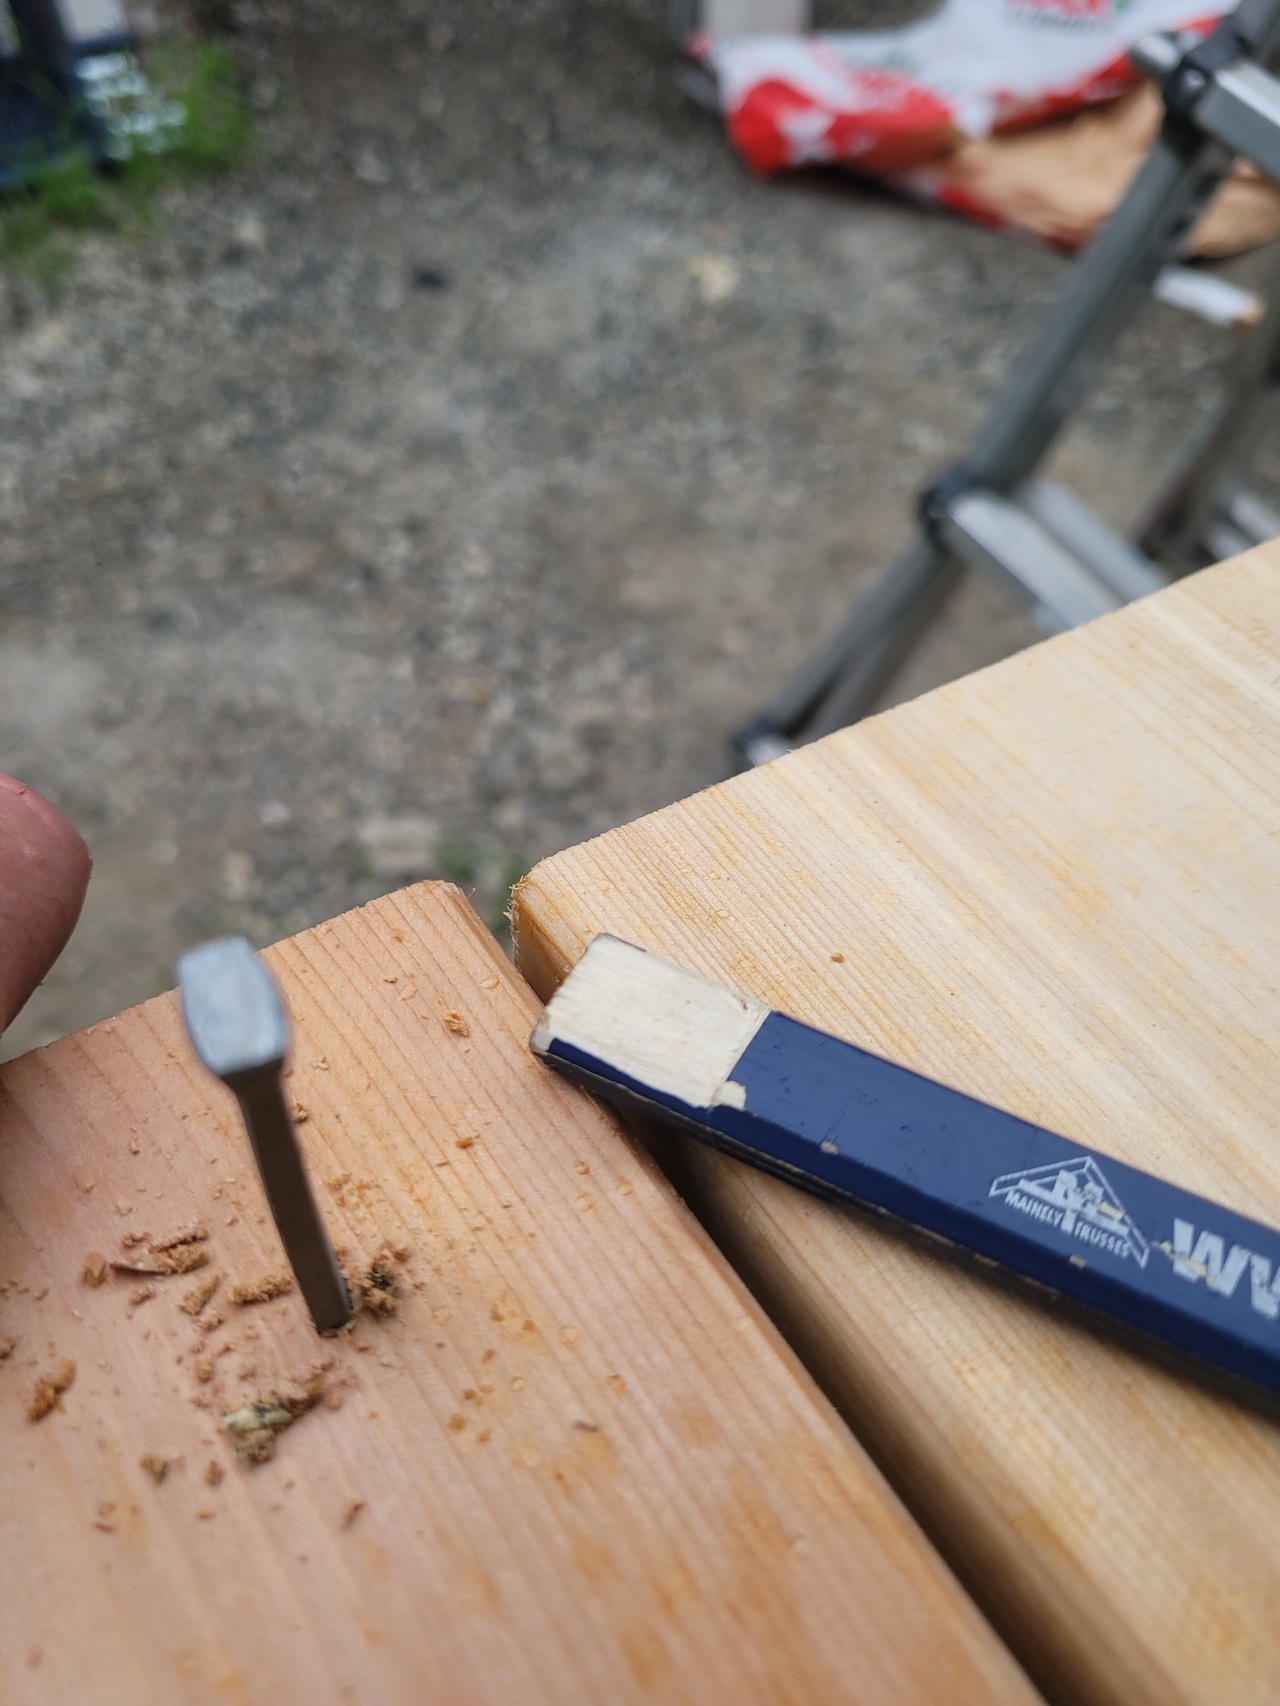
A carpenter's pencil can be shaved to exacly ¼” and also used to set gaps. It will not fall through once the board is nailed because the shaft is thicker than ¼”.
The deck is 10' deep and has 21 courses, each with a 16' length and 8' length totalling 24' long. Starting at the butt joint and work outwards from there, gapping and straightening towards the ends.
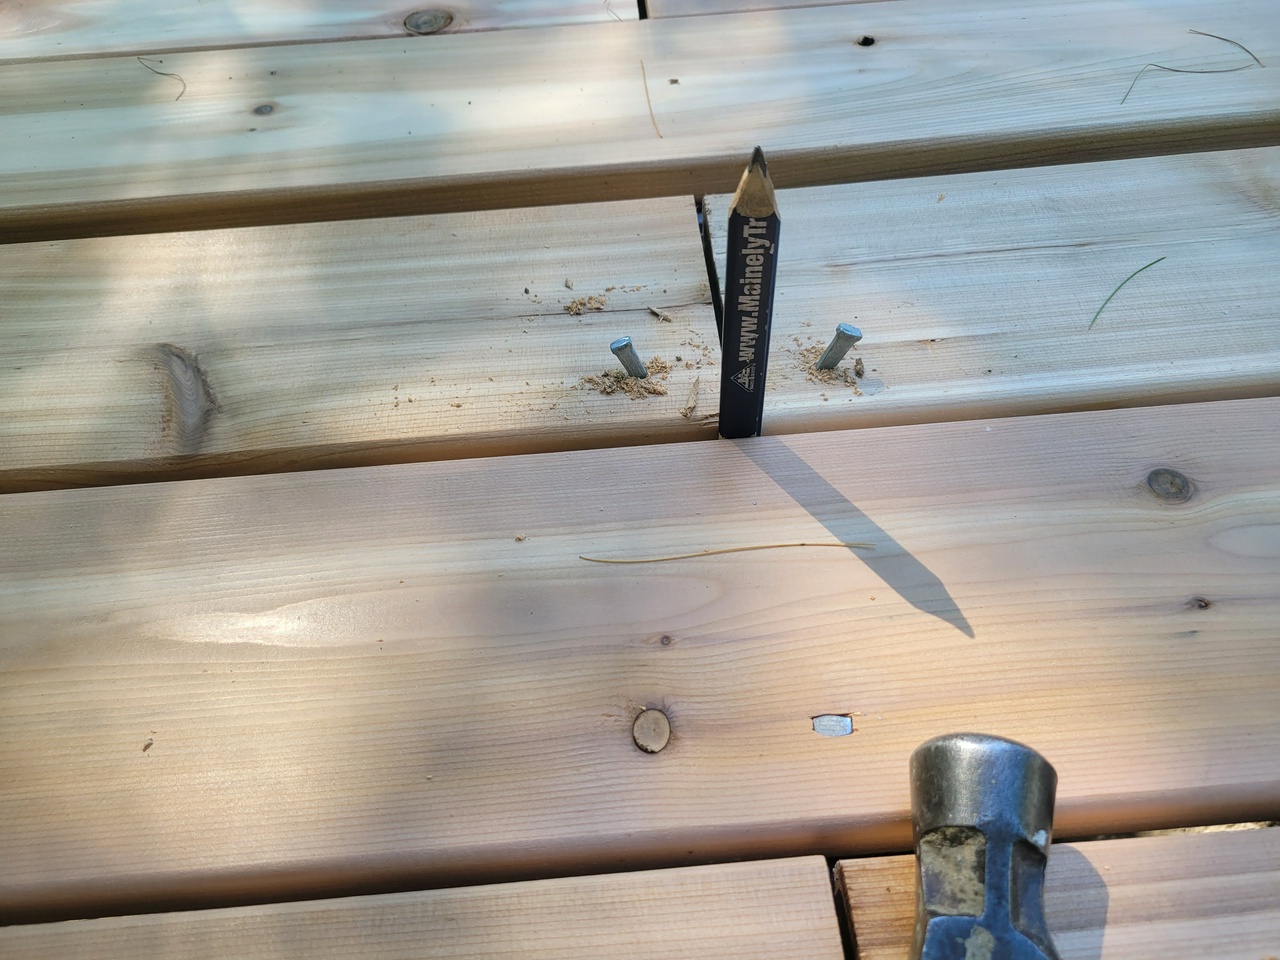
Periodic checks against the control line are key to maintaining strait lines and even gaps.
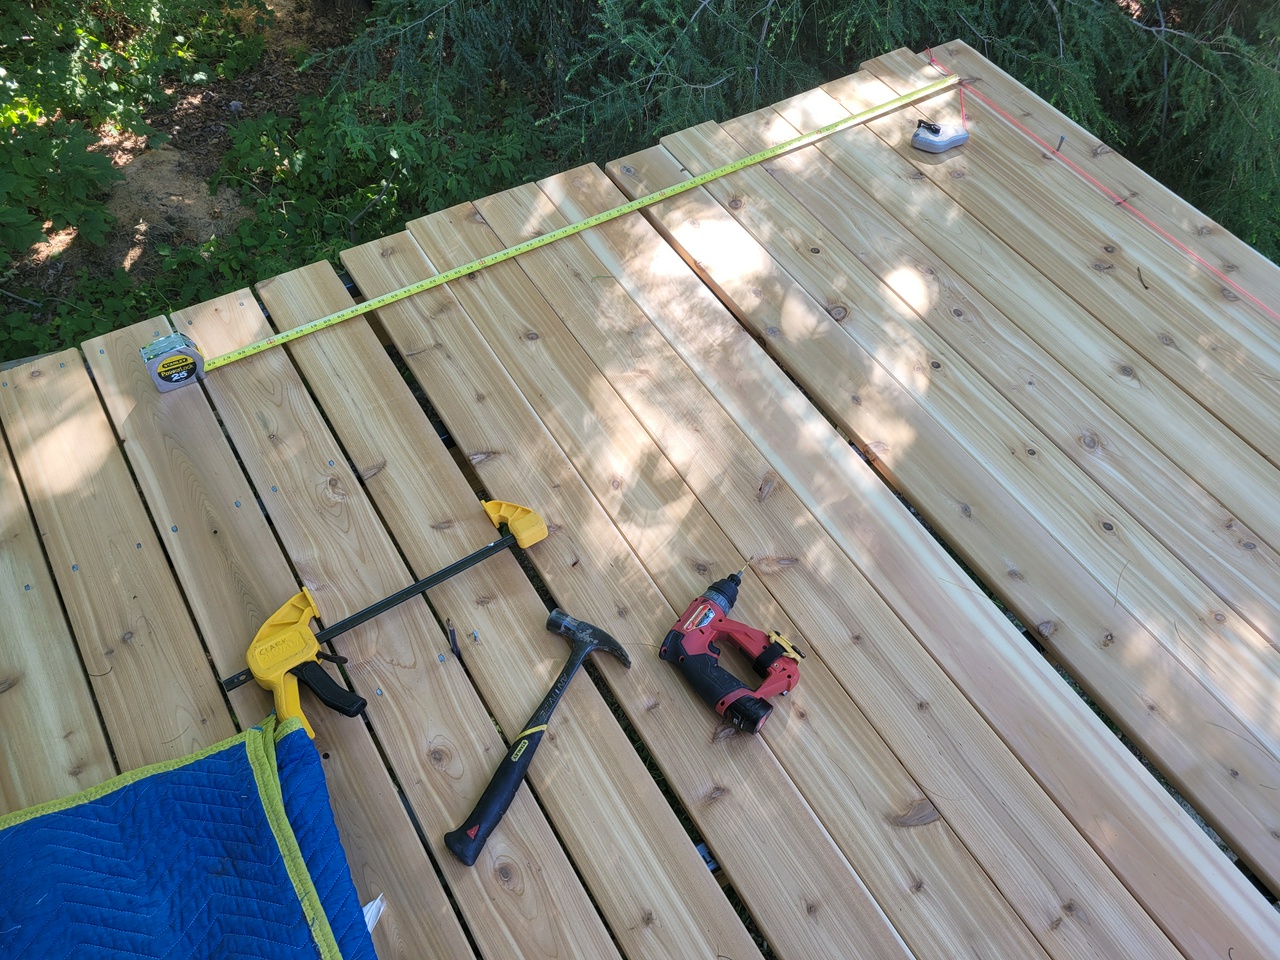
All holes can be predrilled to making nailing easier, but this is especially important on board ends and at knots.
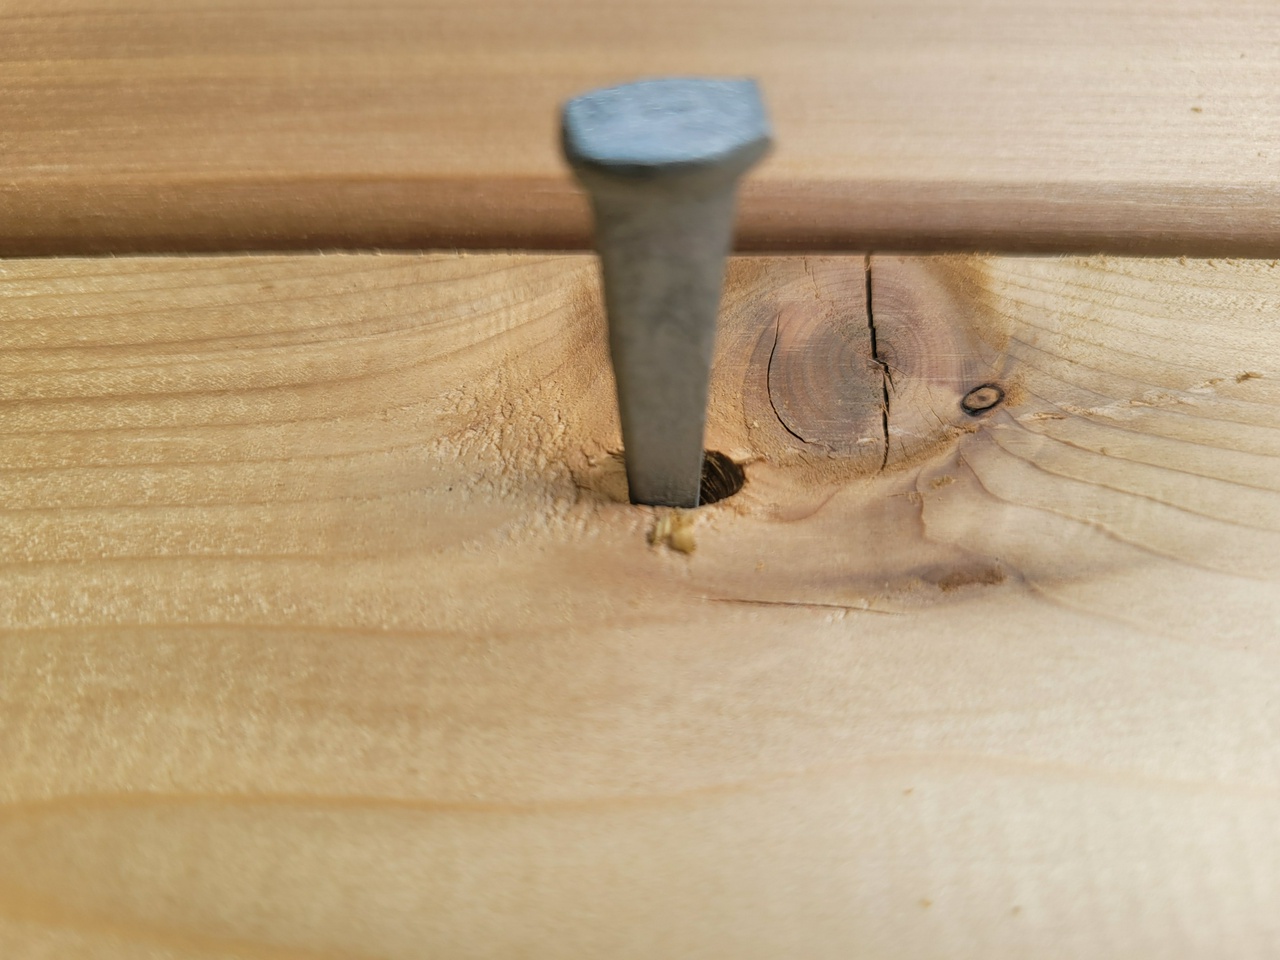
The bit can be moved side to side to create a countersink for the nail head if needed.
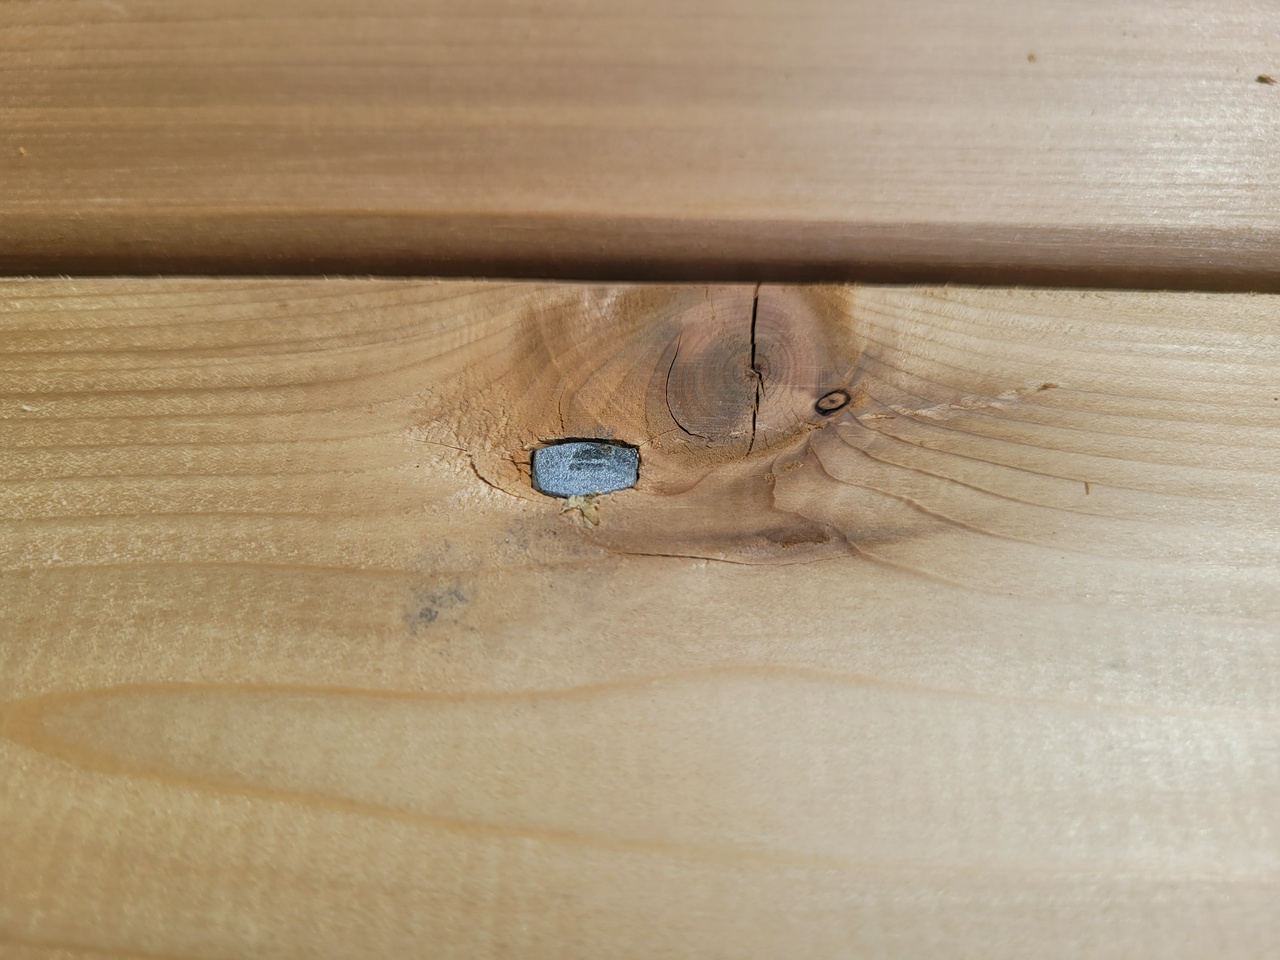
First coat on the face of the boards, compliments of the Father and Son team from the Lone Star State
Part 1 of this project is complete. This initial coat of BLO will be followed with a second, followed by beeswax/BLO paste after the railings are installed.