trash pull-out
making a custom TPO
part of the kitchen extension was to optimize existing storage, including adding a drawer box specifically for a trash can and accessories, also known as a trash pull-out
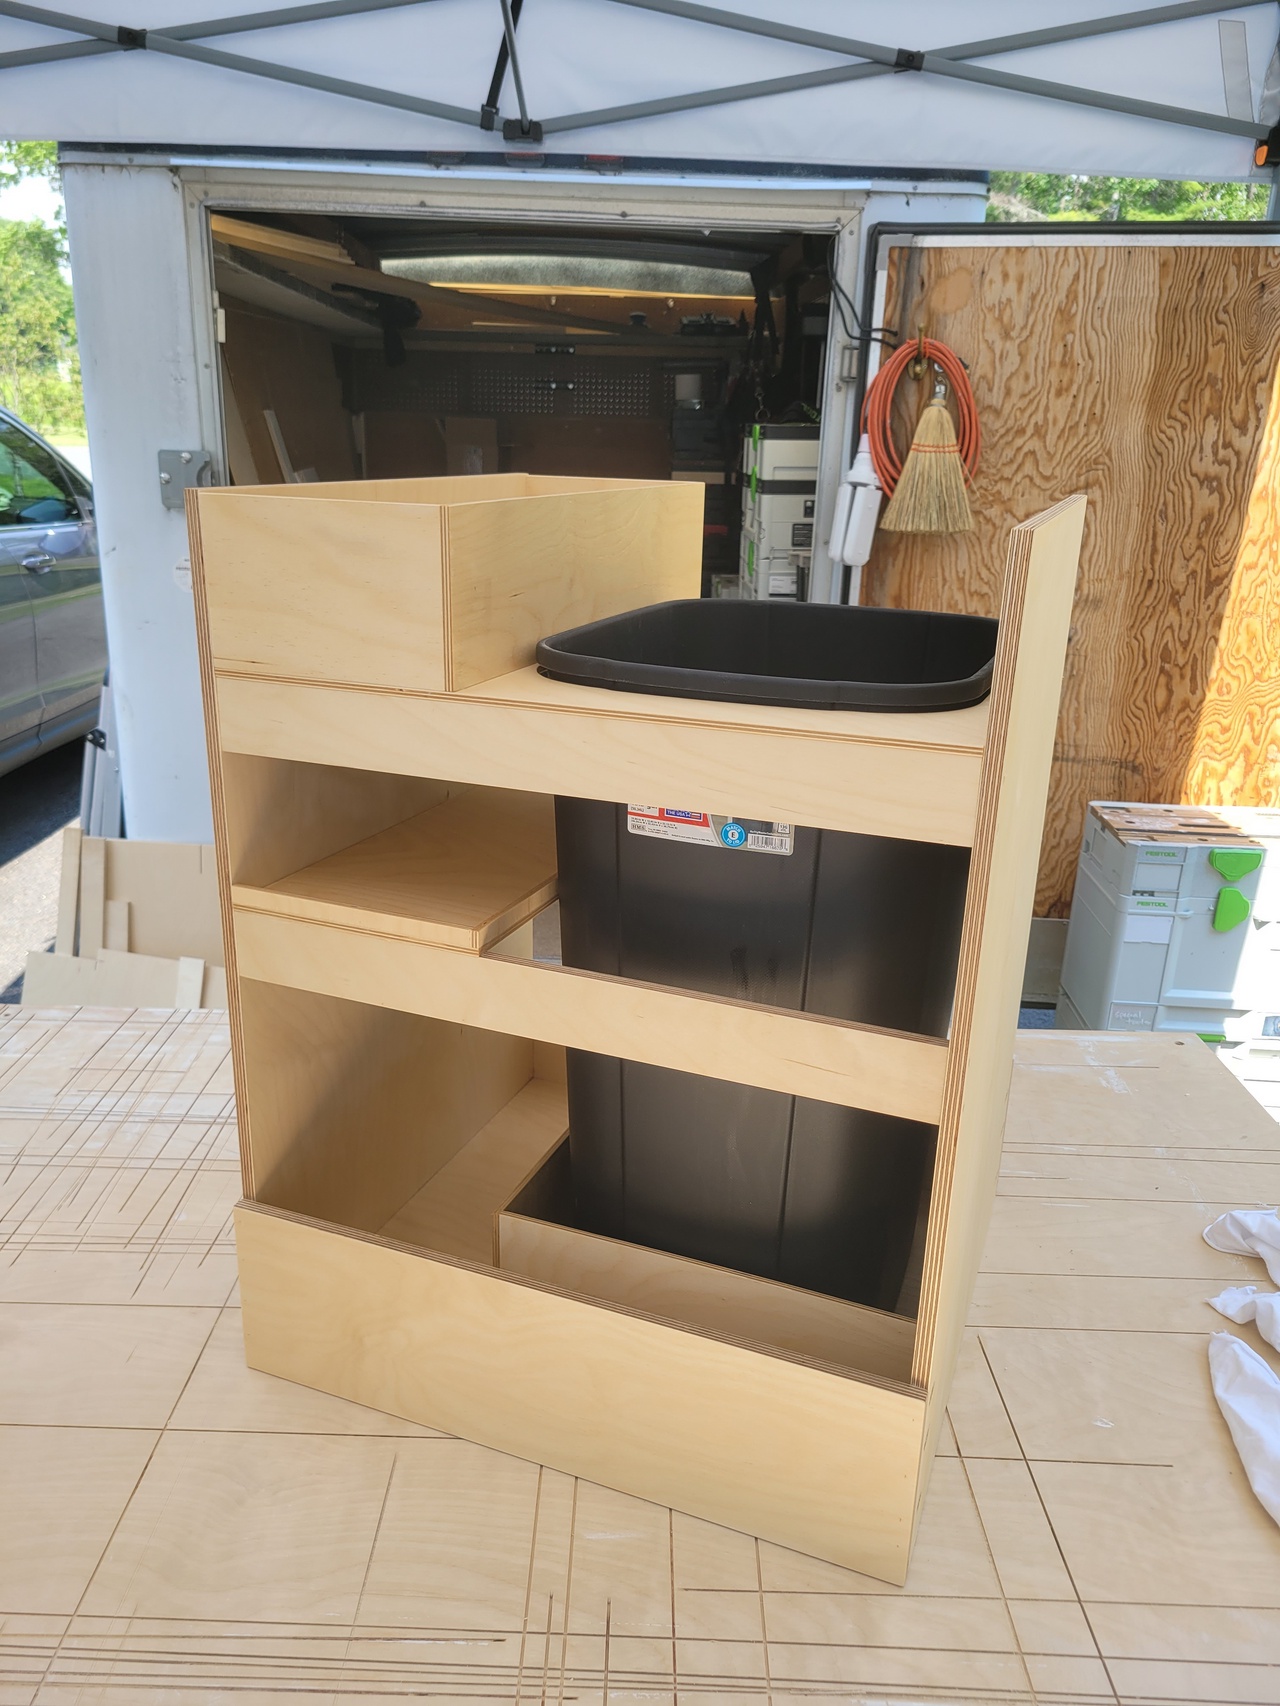
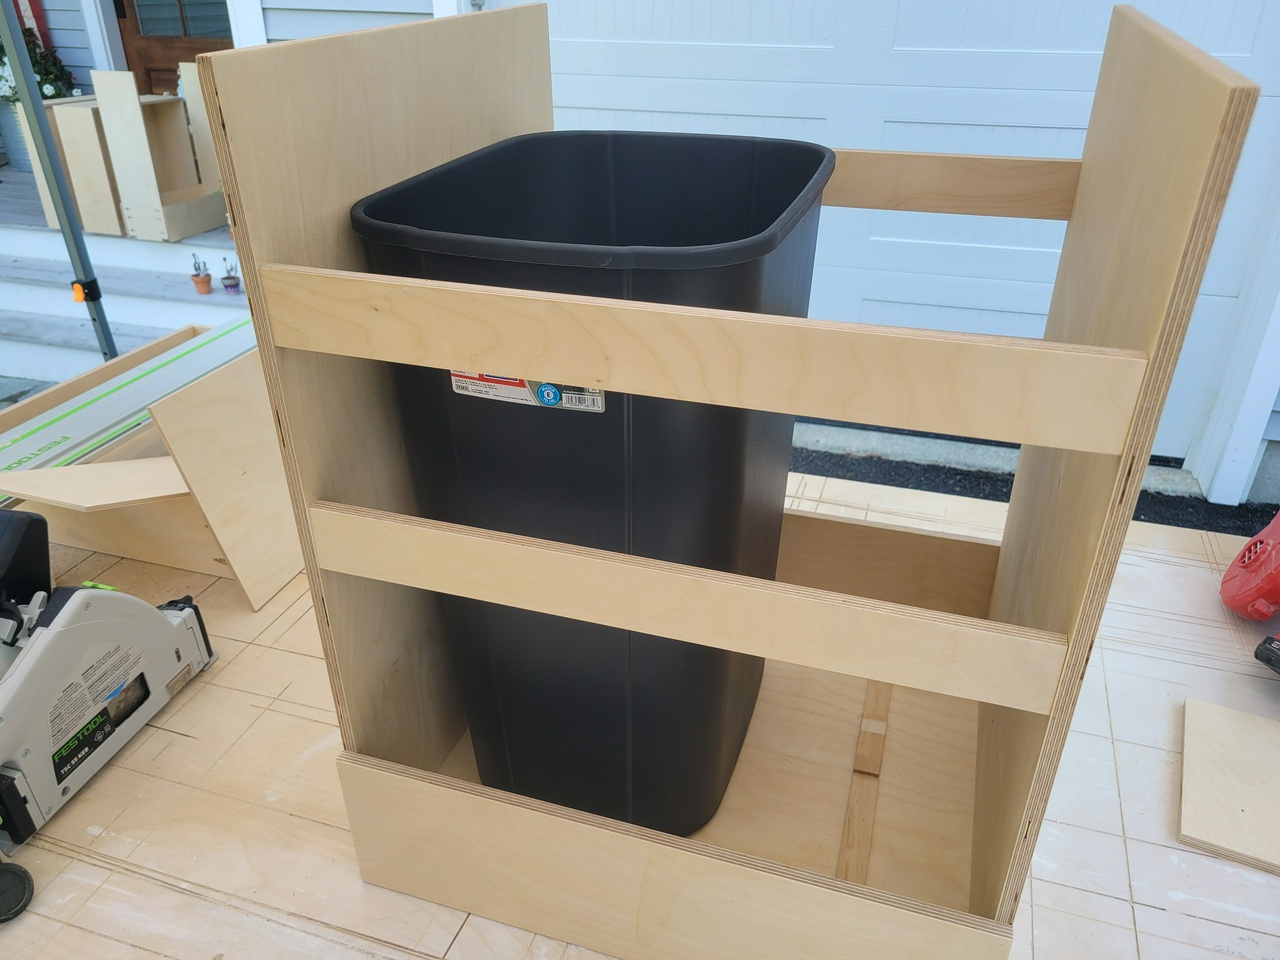
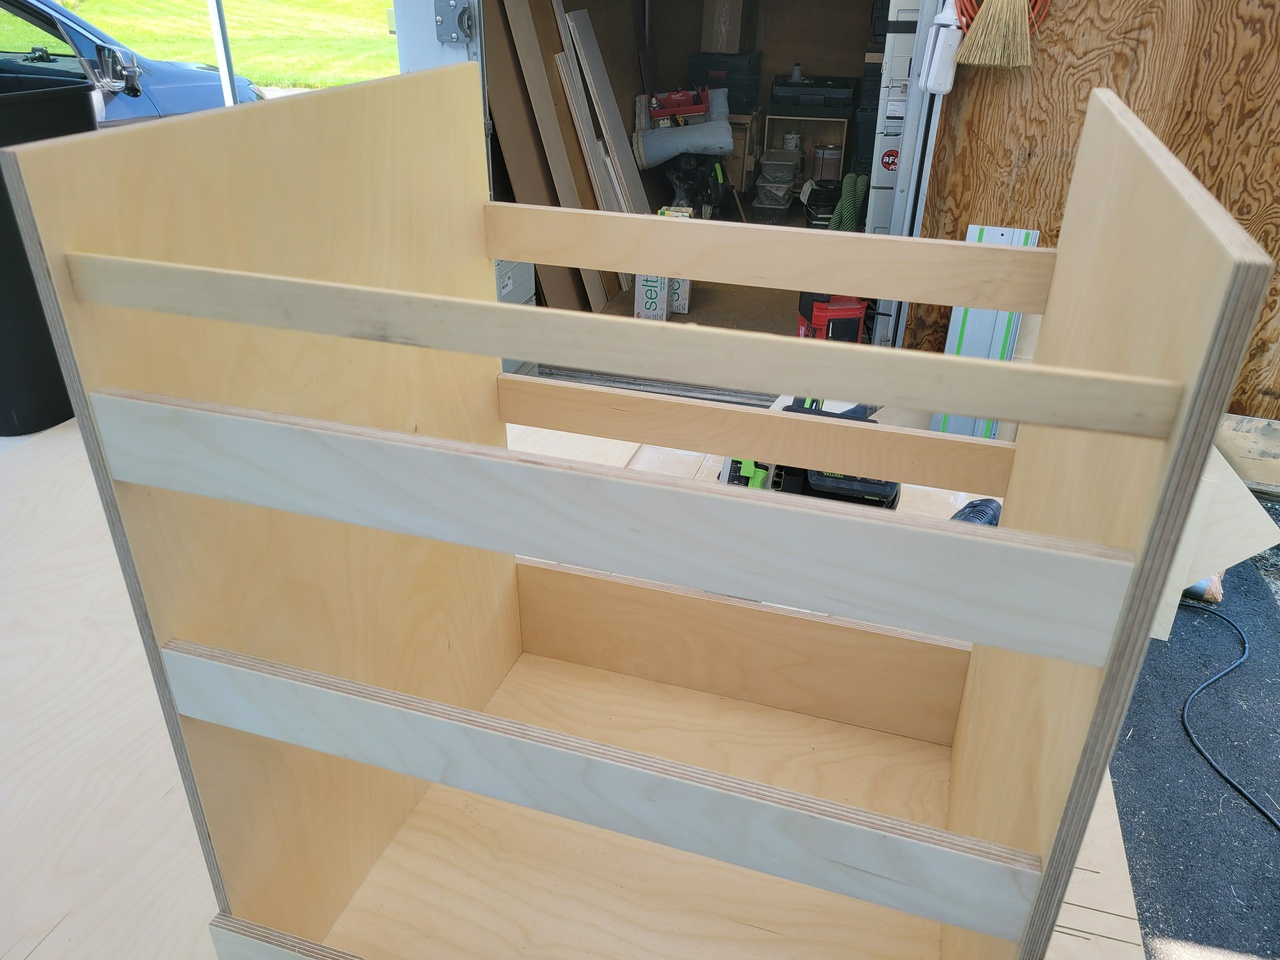
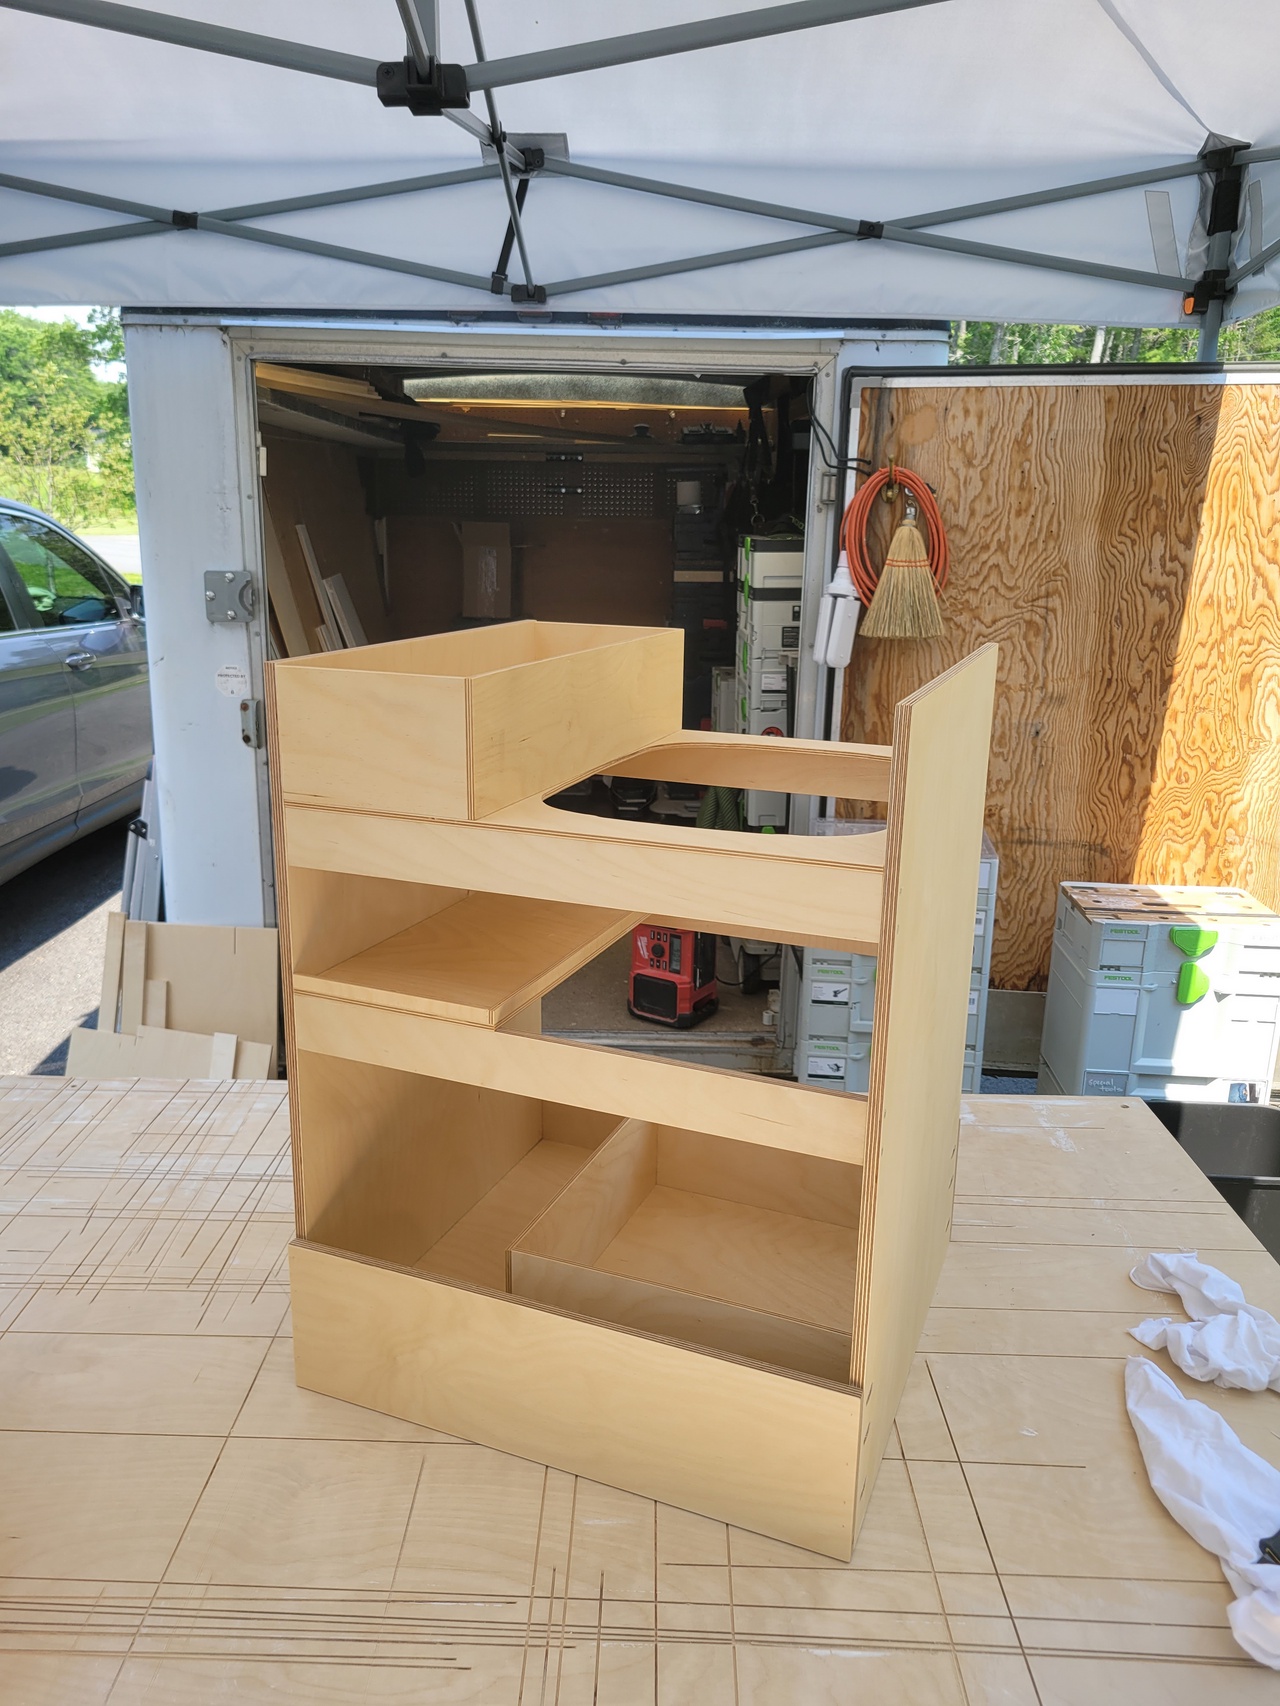
the client had sent me a design of what he wanted in general, so that was my roadmap. i started the build with standard drawer box construction, though the front and back were extended up to add structure for the front door panel and support for the trash can and trays. i connected the front and back drawer components with horizontal members called stretchers. connecting the front and back gave the TPO more structure (the door panel mounts here) and made a base for shelves and trays to hold trash bags, cleaning products, etc.
the primary function of the TPO is to hold the trash bin, so i started laying out the interior components there. this obviously had to be the main function, while everything else had to work around this feature. i not only wanted the bin to stay in place, but i wanted it to be easy to remove.
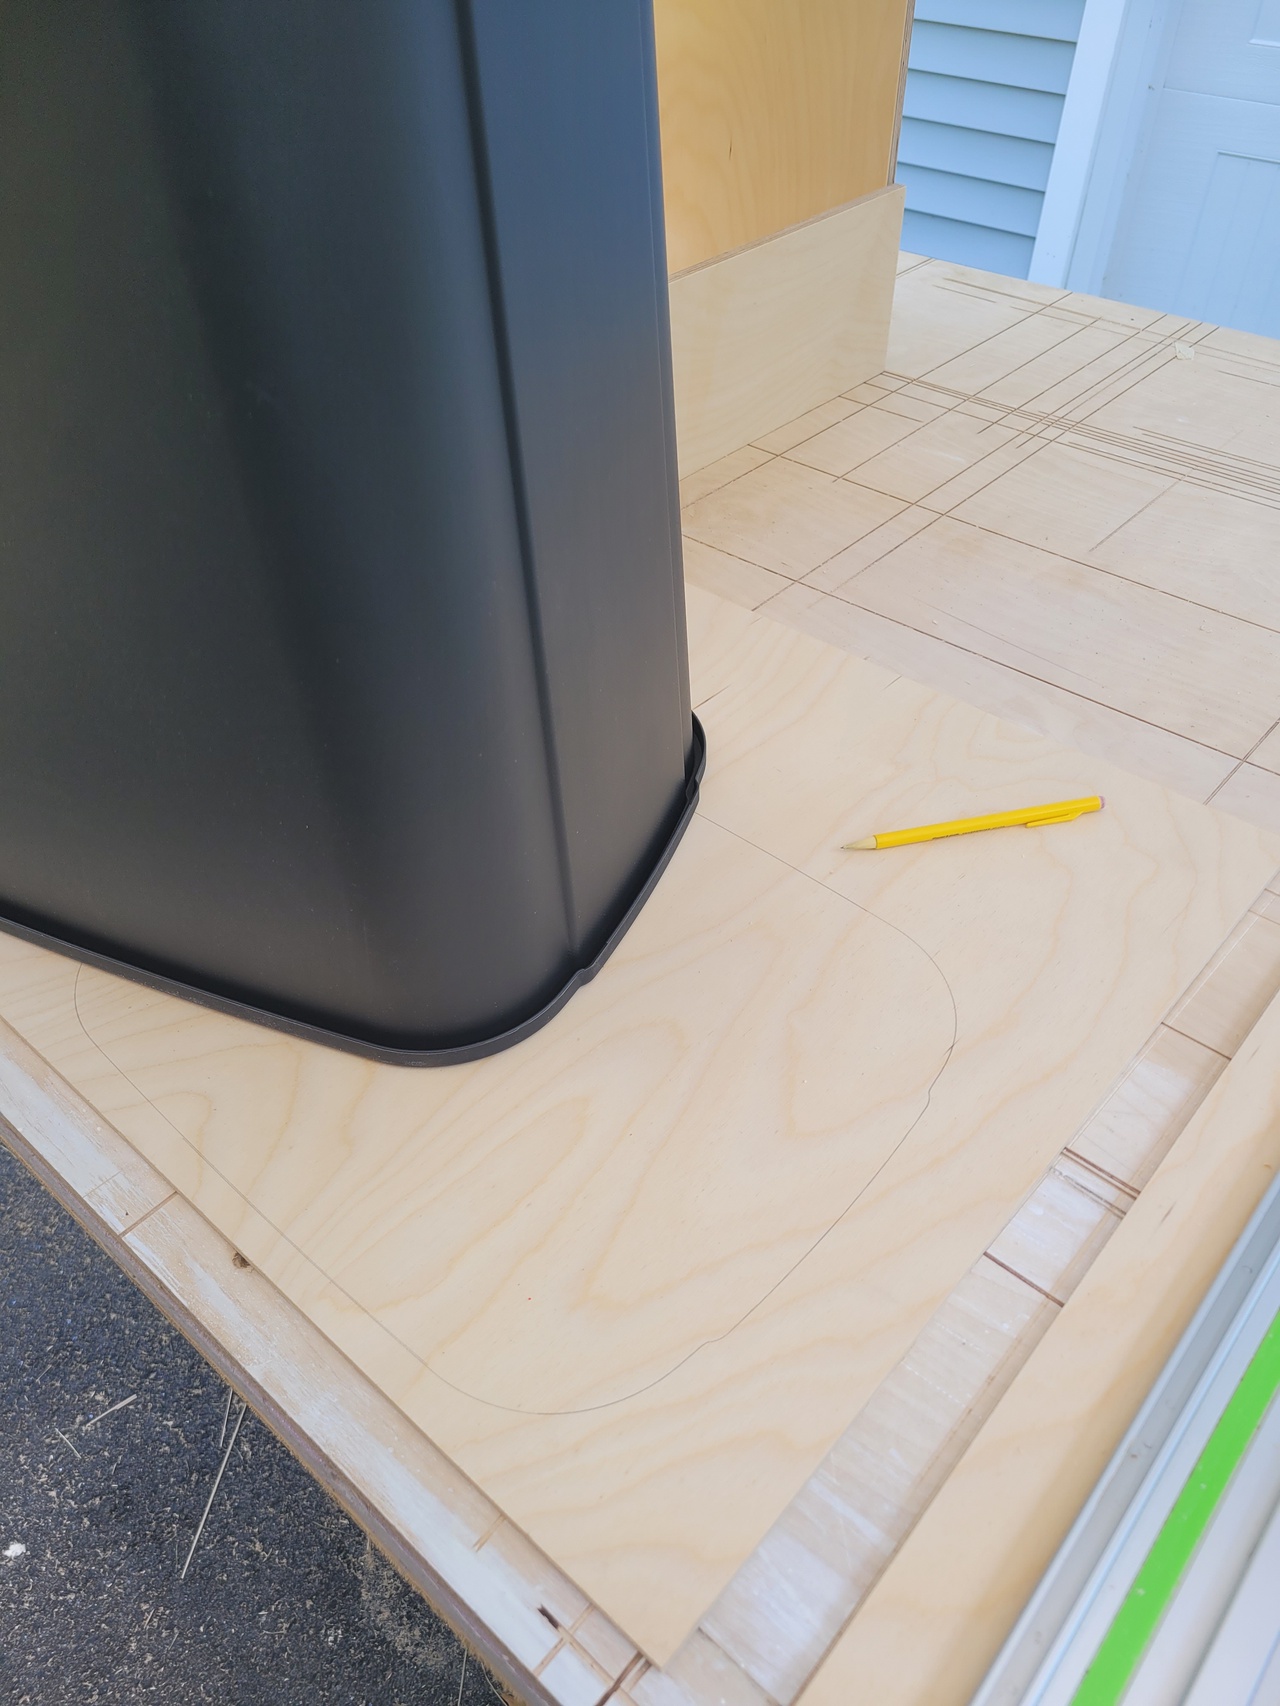
using the bin itself, I traced the shape for the opening. i used 6mm baltic birch for many of the interior components, including shelves and trays. it's strong, light, and can actually be nailed successfully with 23g pins. add a little bit of glue, and you have a surprisingly resilient joint.
the process of cutting and fitting the lower compartment trays (and bottom base for the trash bin) was a bit of design on the fly and iterative fitting with small part cutting. it's a great example of the application of the tracksaw with sacrificial work surface. i was able to fit and cut parts right there with the workpiece, right on the table. it's easy to make small, duplicate parts by stacking 6mm pieces (most of this is scrap from the other drawer boxes) on top of each other and cutting them all at once. cross cuts, rips cuts. size, resize. accurate duplicates.
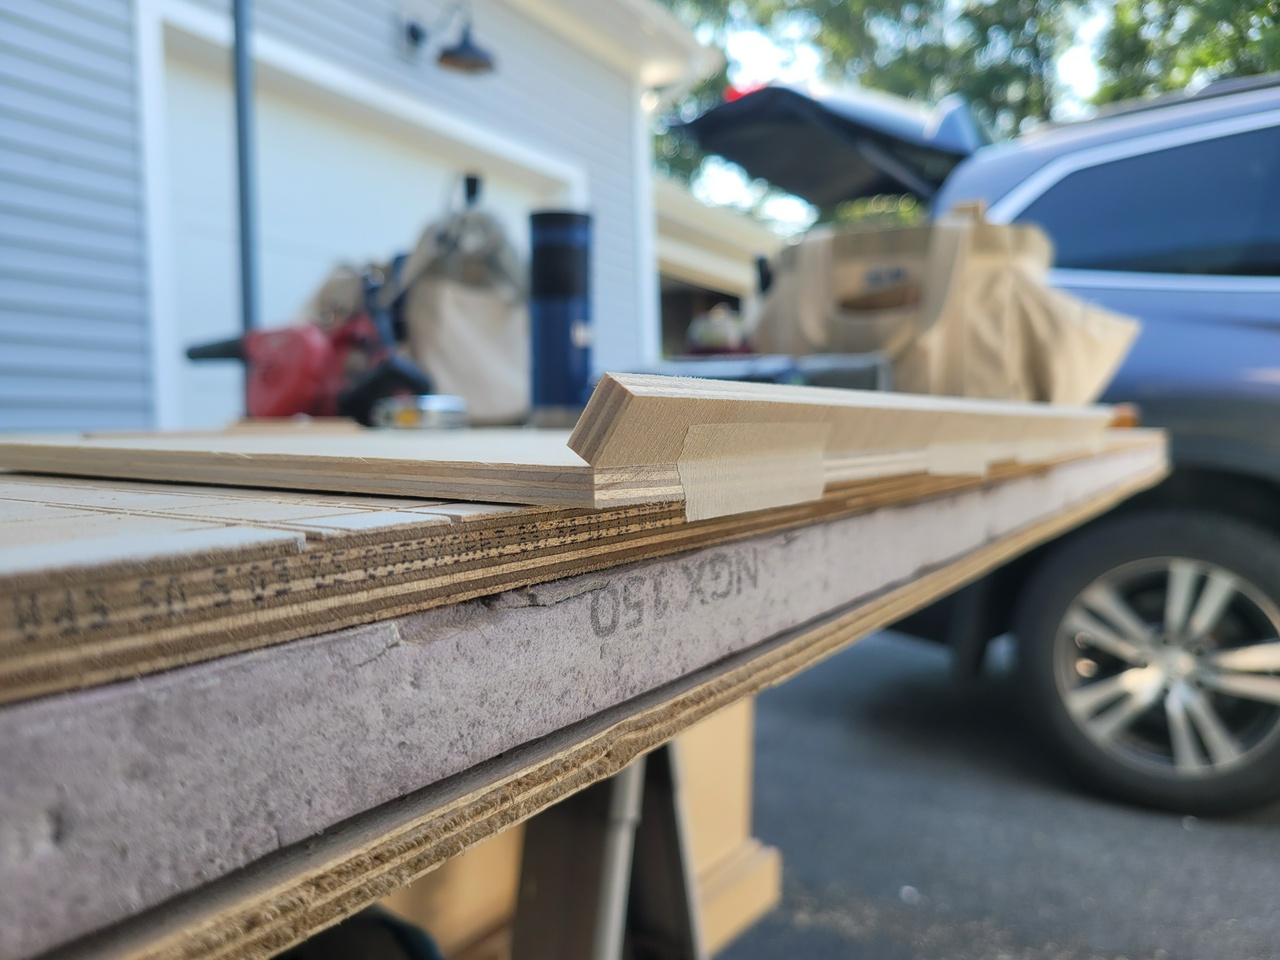
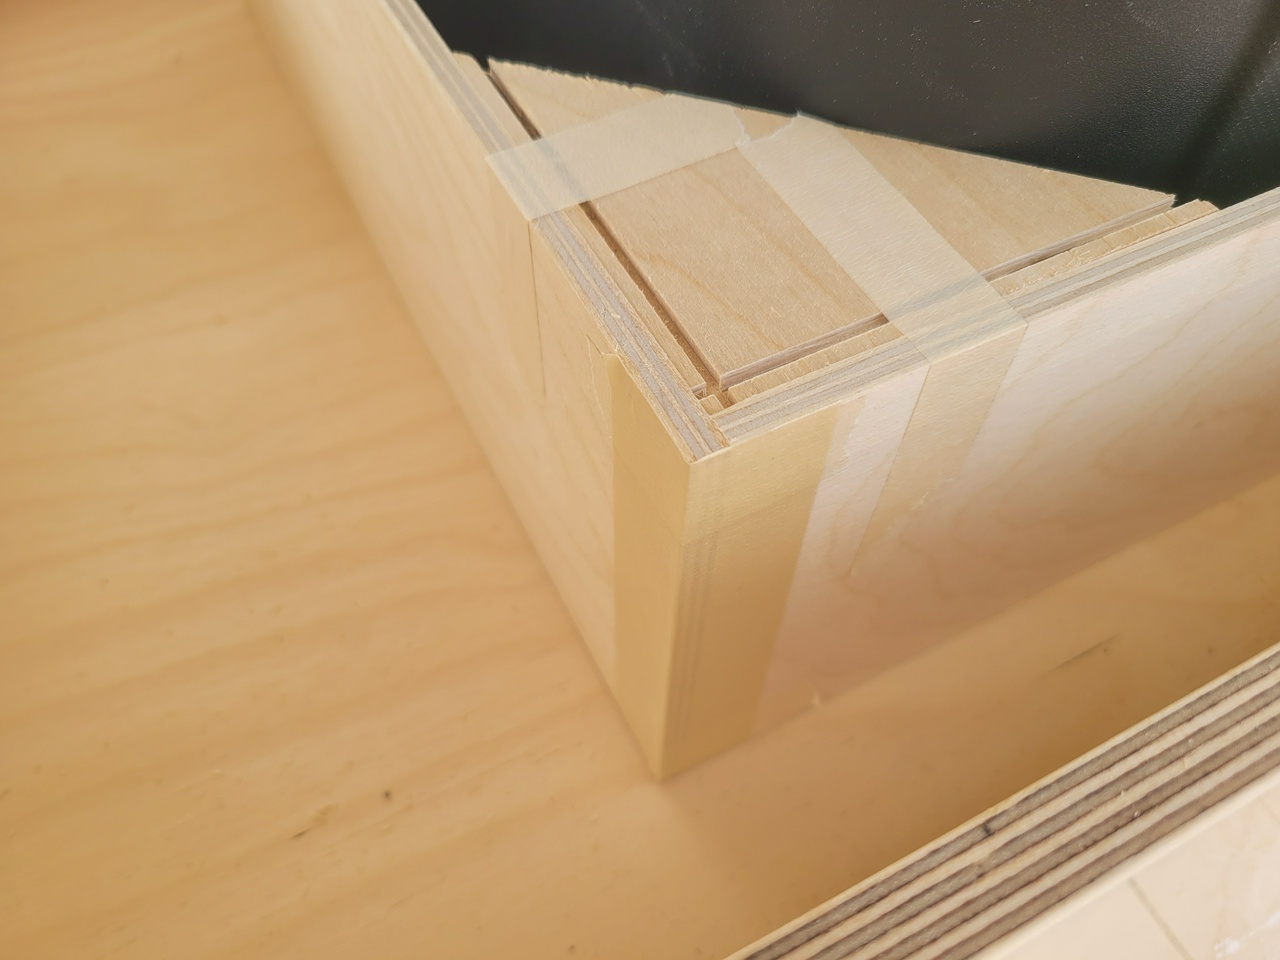
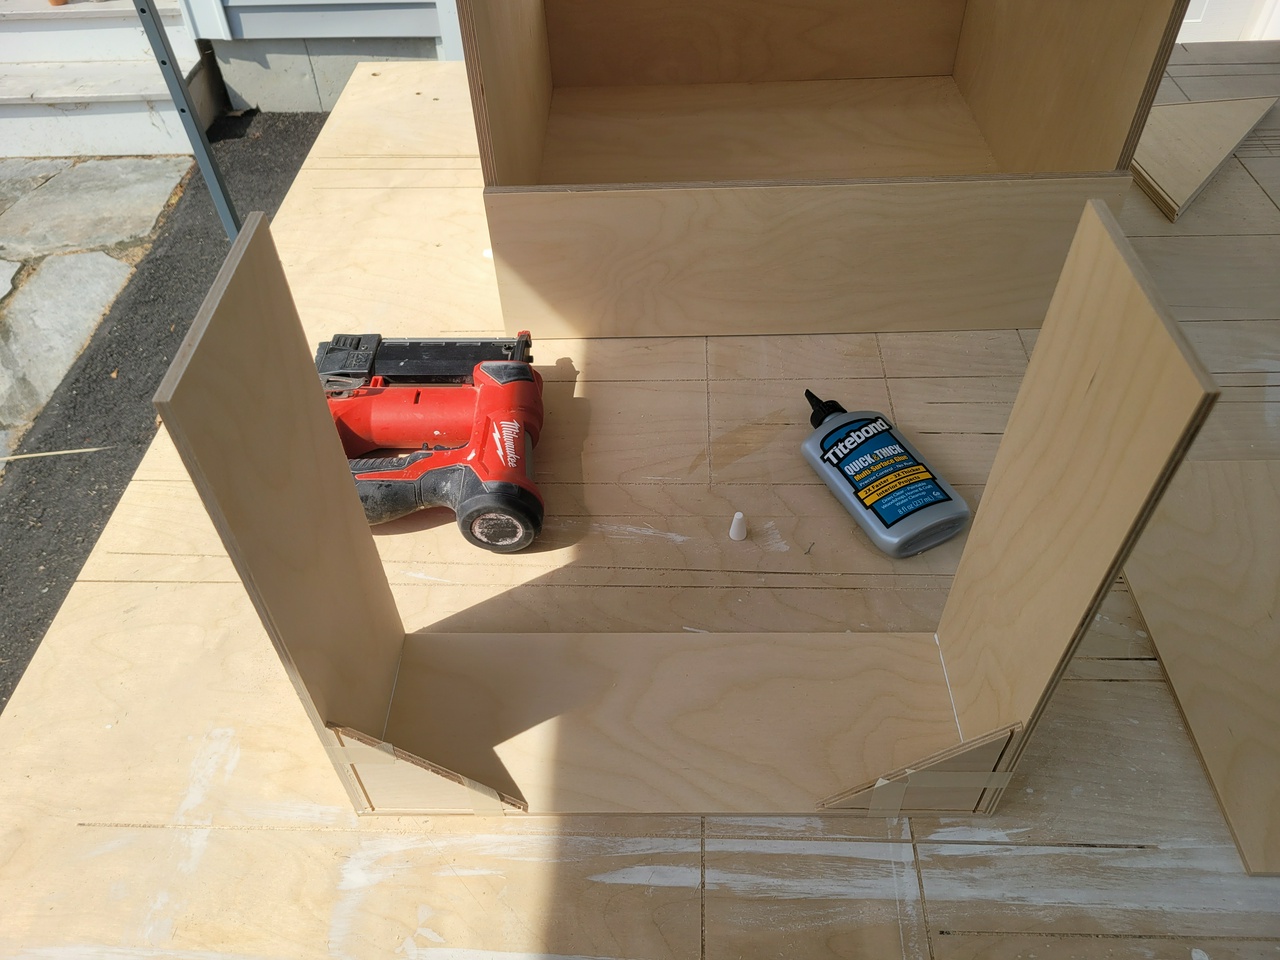
similar to miter folding, i joined the edges and corners of the trays with the use of tape as an alignment and clamping aid. most joints were also glued with TiteBond Quick and Thick, which doesn't run, grabs very quickly, and dries pretty clear. no clamps or screws were used. just tape and simple plywood braces. no fussy joinery, either.
there are many advantages to working with Baltic Birch but, specifically for this example, the ability for it to hold nails like hardwood makes simple joinery not only possible, but actually durable. in addition, the 6mm thickness is plenty strong for most uses.
horizontal stretchers join front and back and provide support for shelves and trays
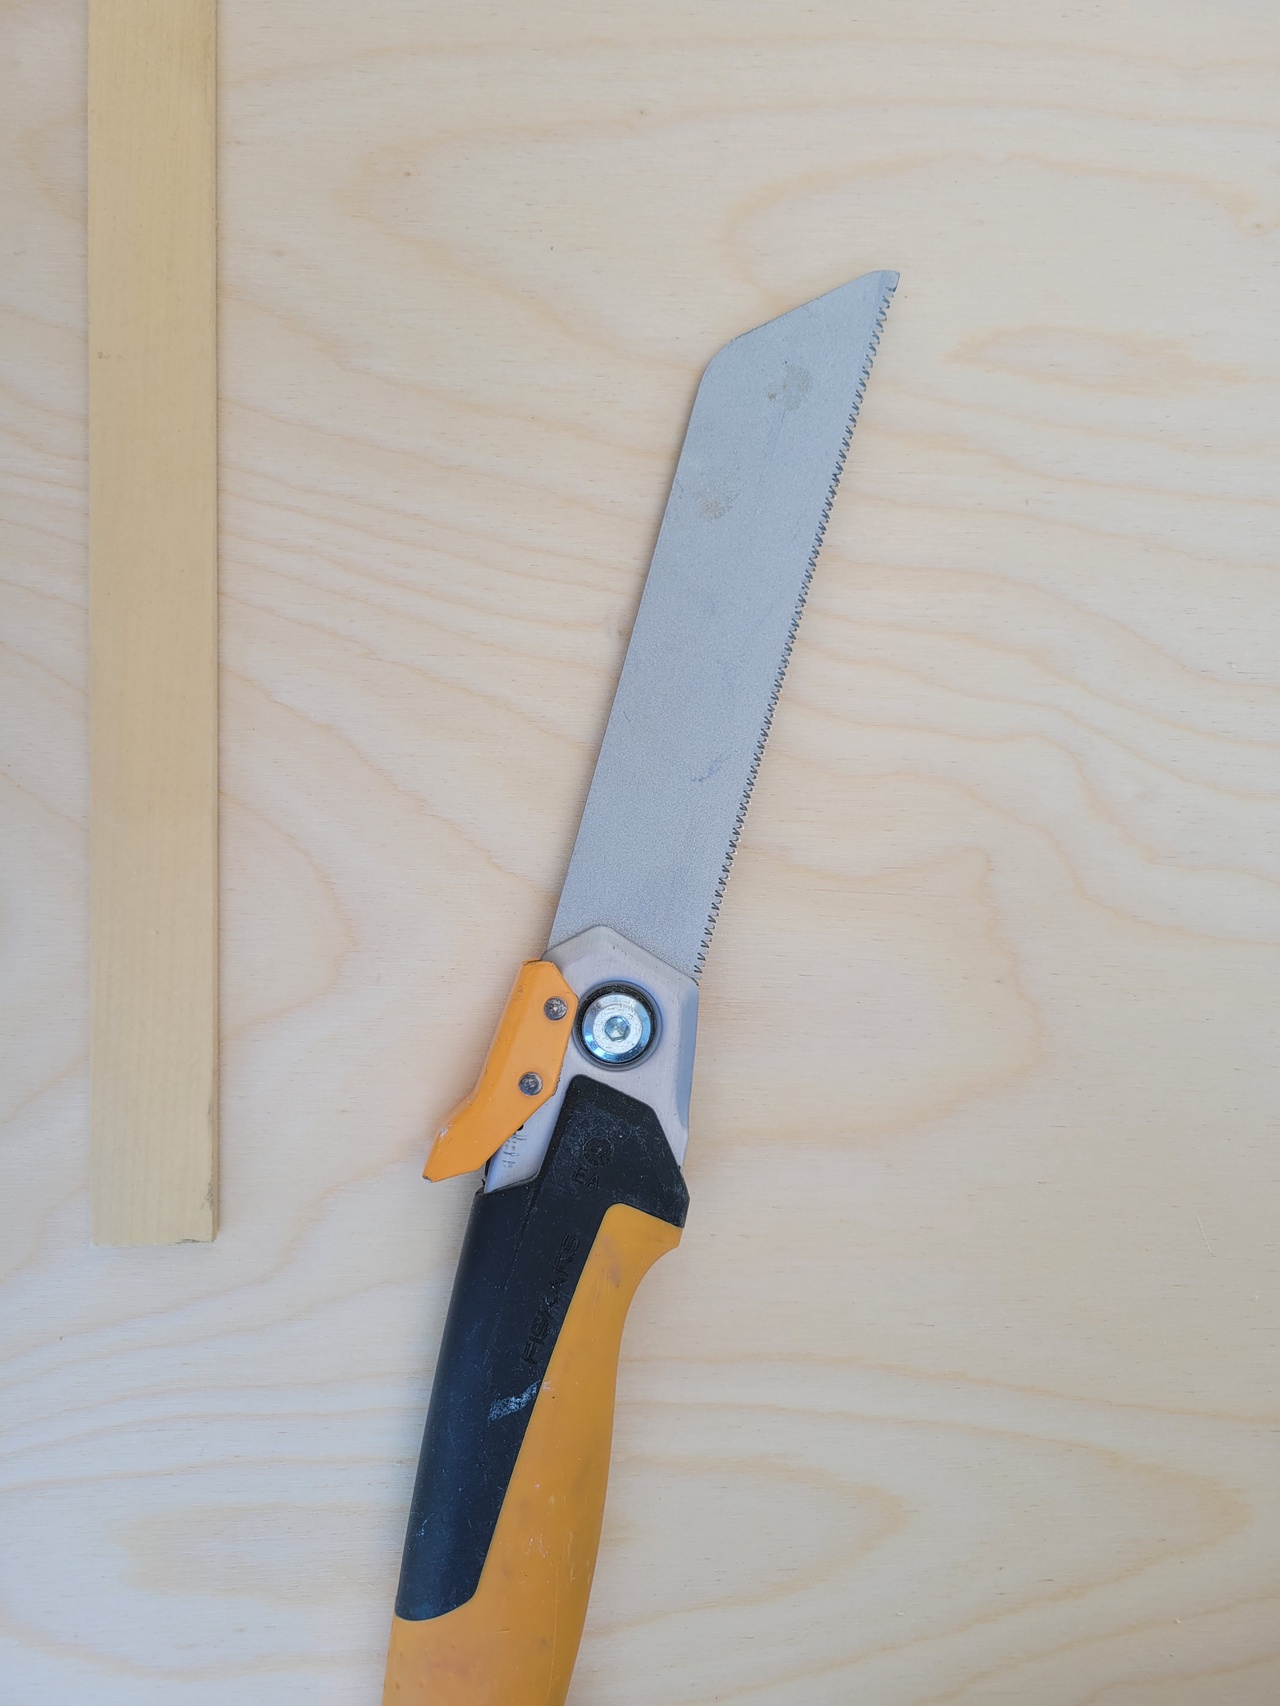
I keep .25”×1” rips of pine (soft, easy to cut) on hand to make story sticks (spacers) which allow transfer of sizes for parts without a tape measure and are more accurate. and easier to use through a variety of cutting tasks
handsaw makes it quick to size
same story stick used to cut stretchers used to cut 6mm sheet for trash bin shelf- mark width with pencil...
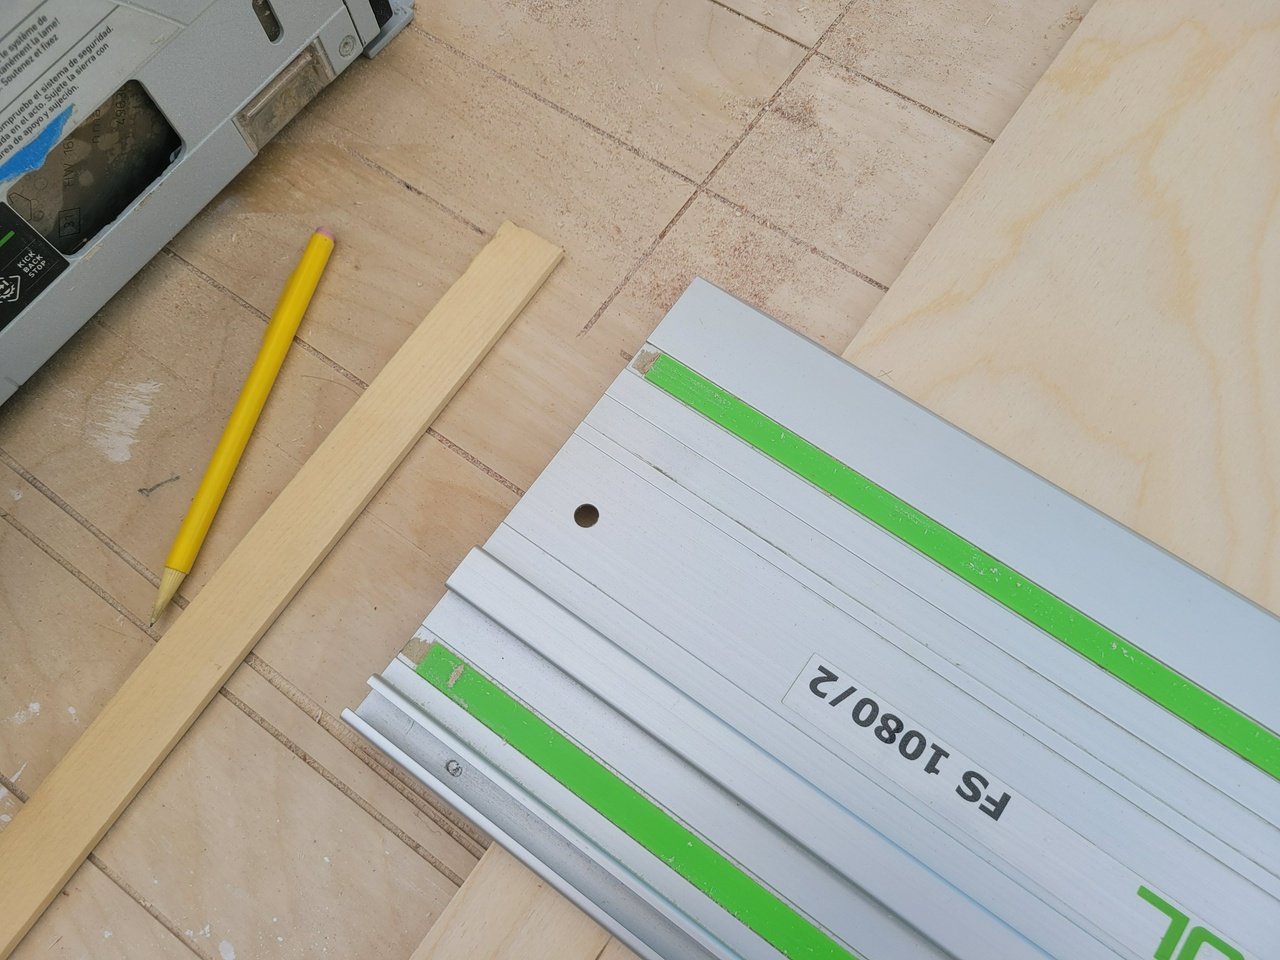
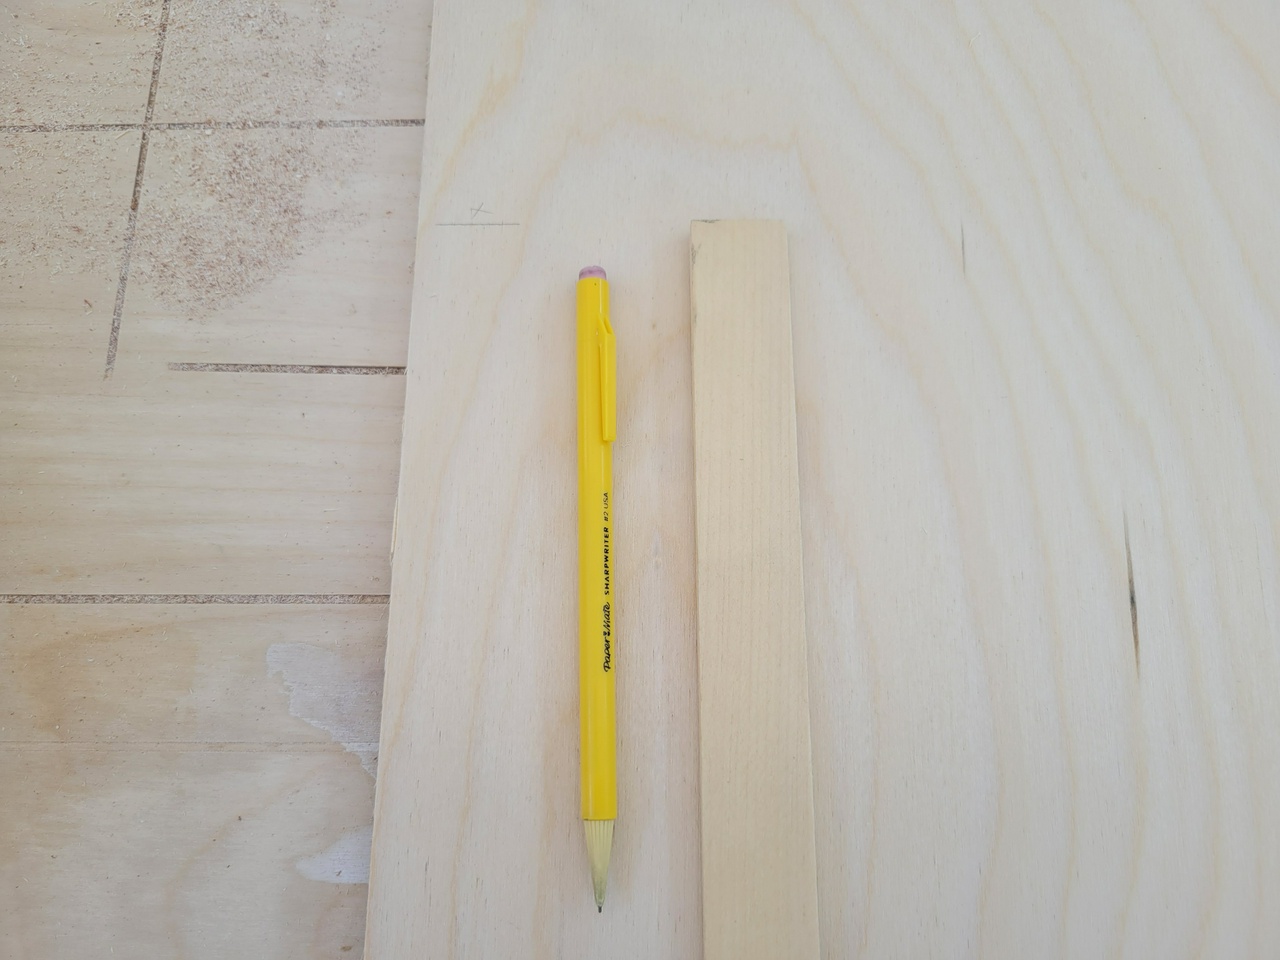 ...position track, and cut. exact same dimension as stretcher
trash bin shape to shelf transfer with pencil
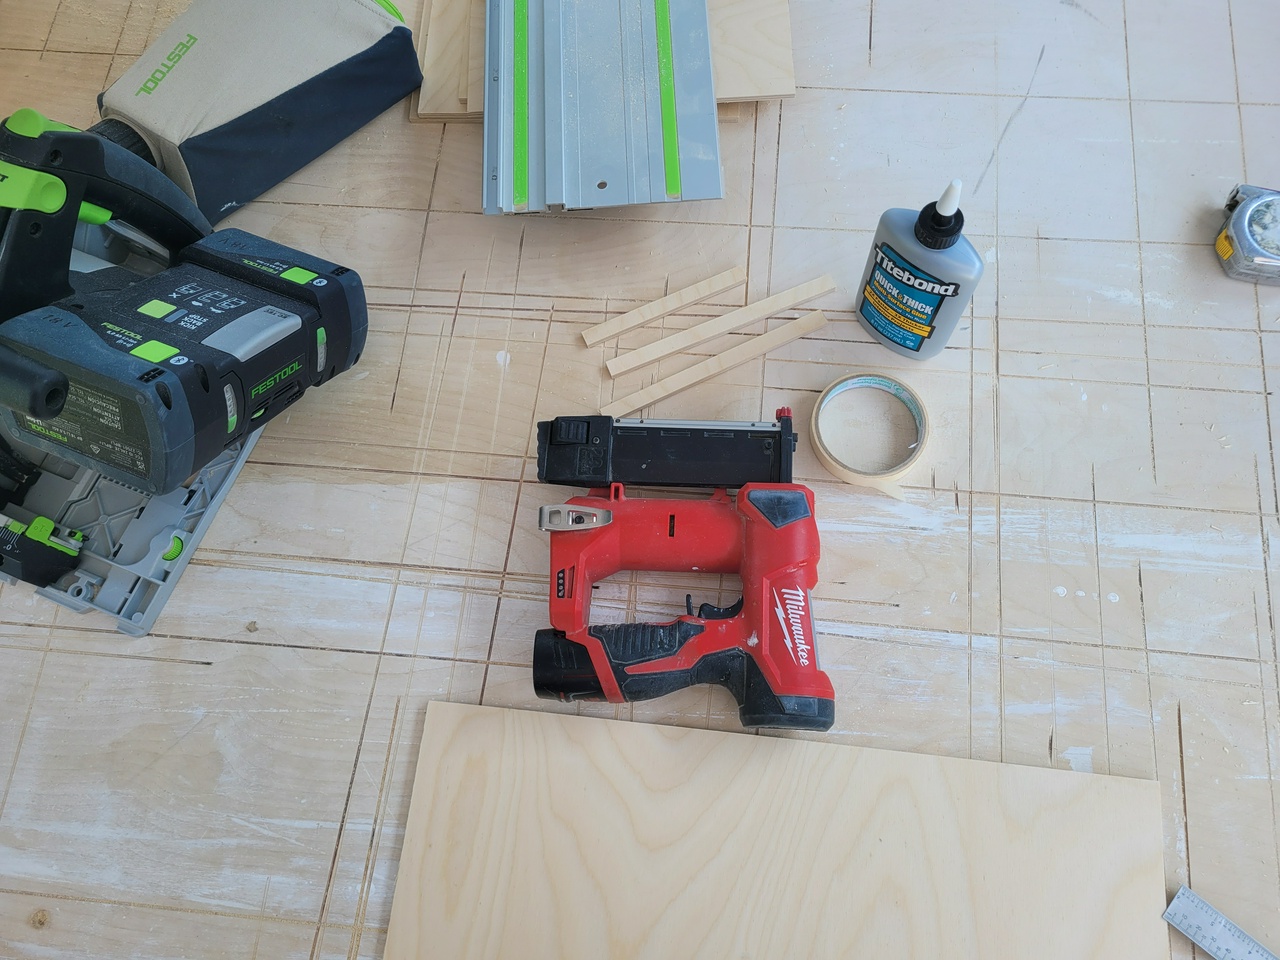
all of tools and consumables I used to make the 6mm Baltic Birch shelves and trays
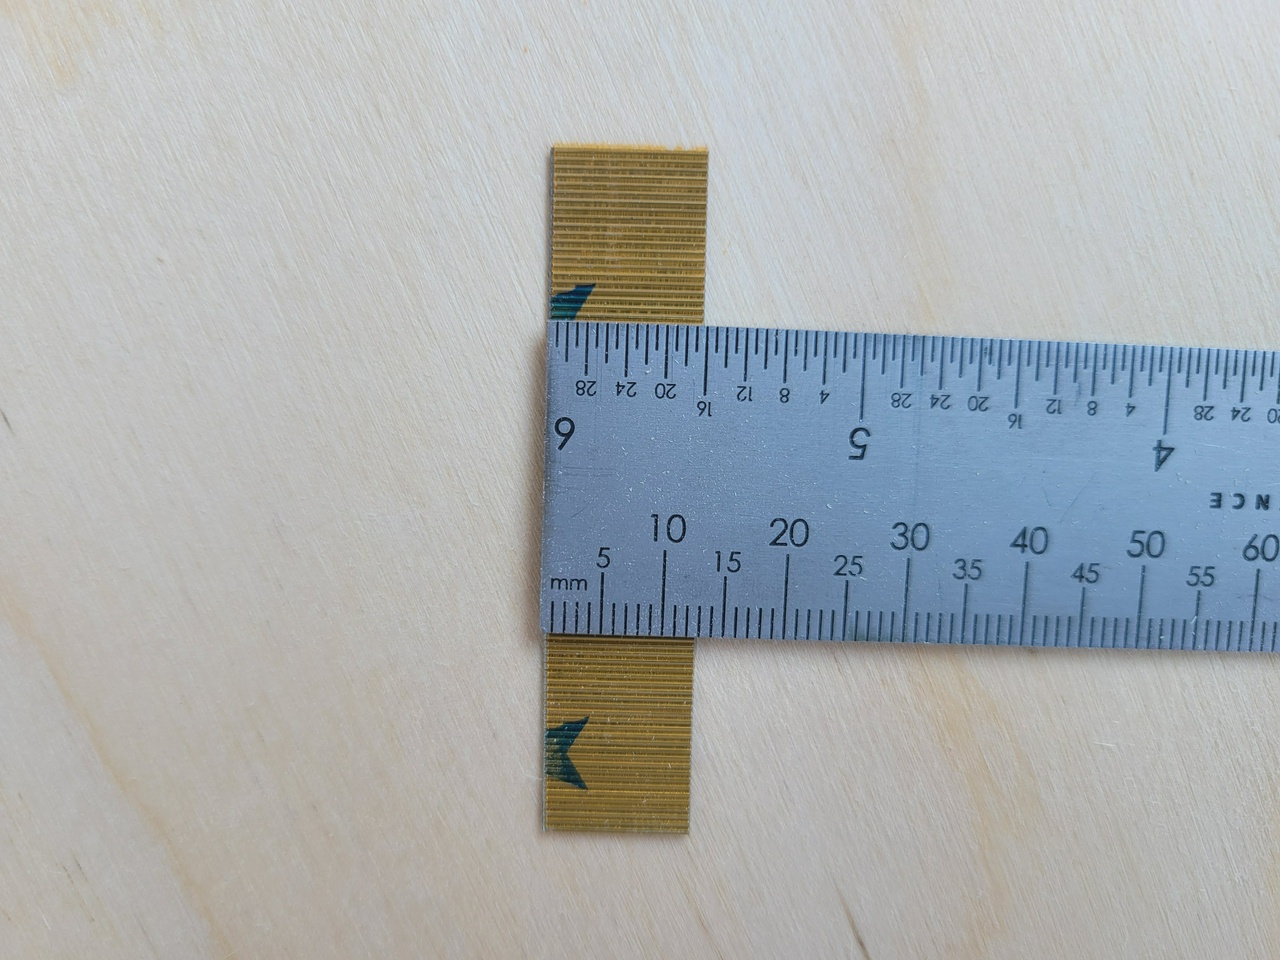
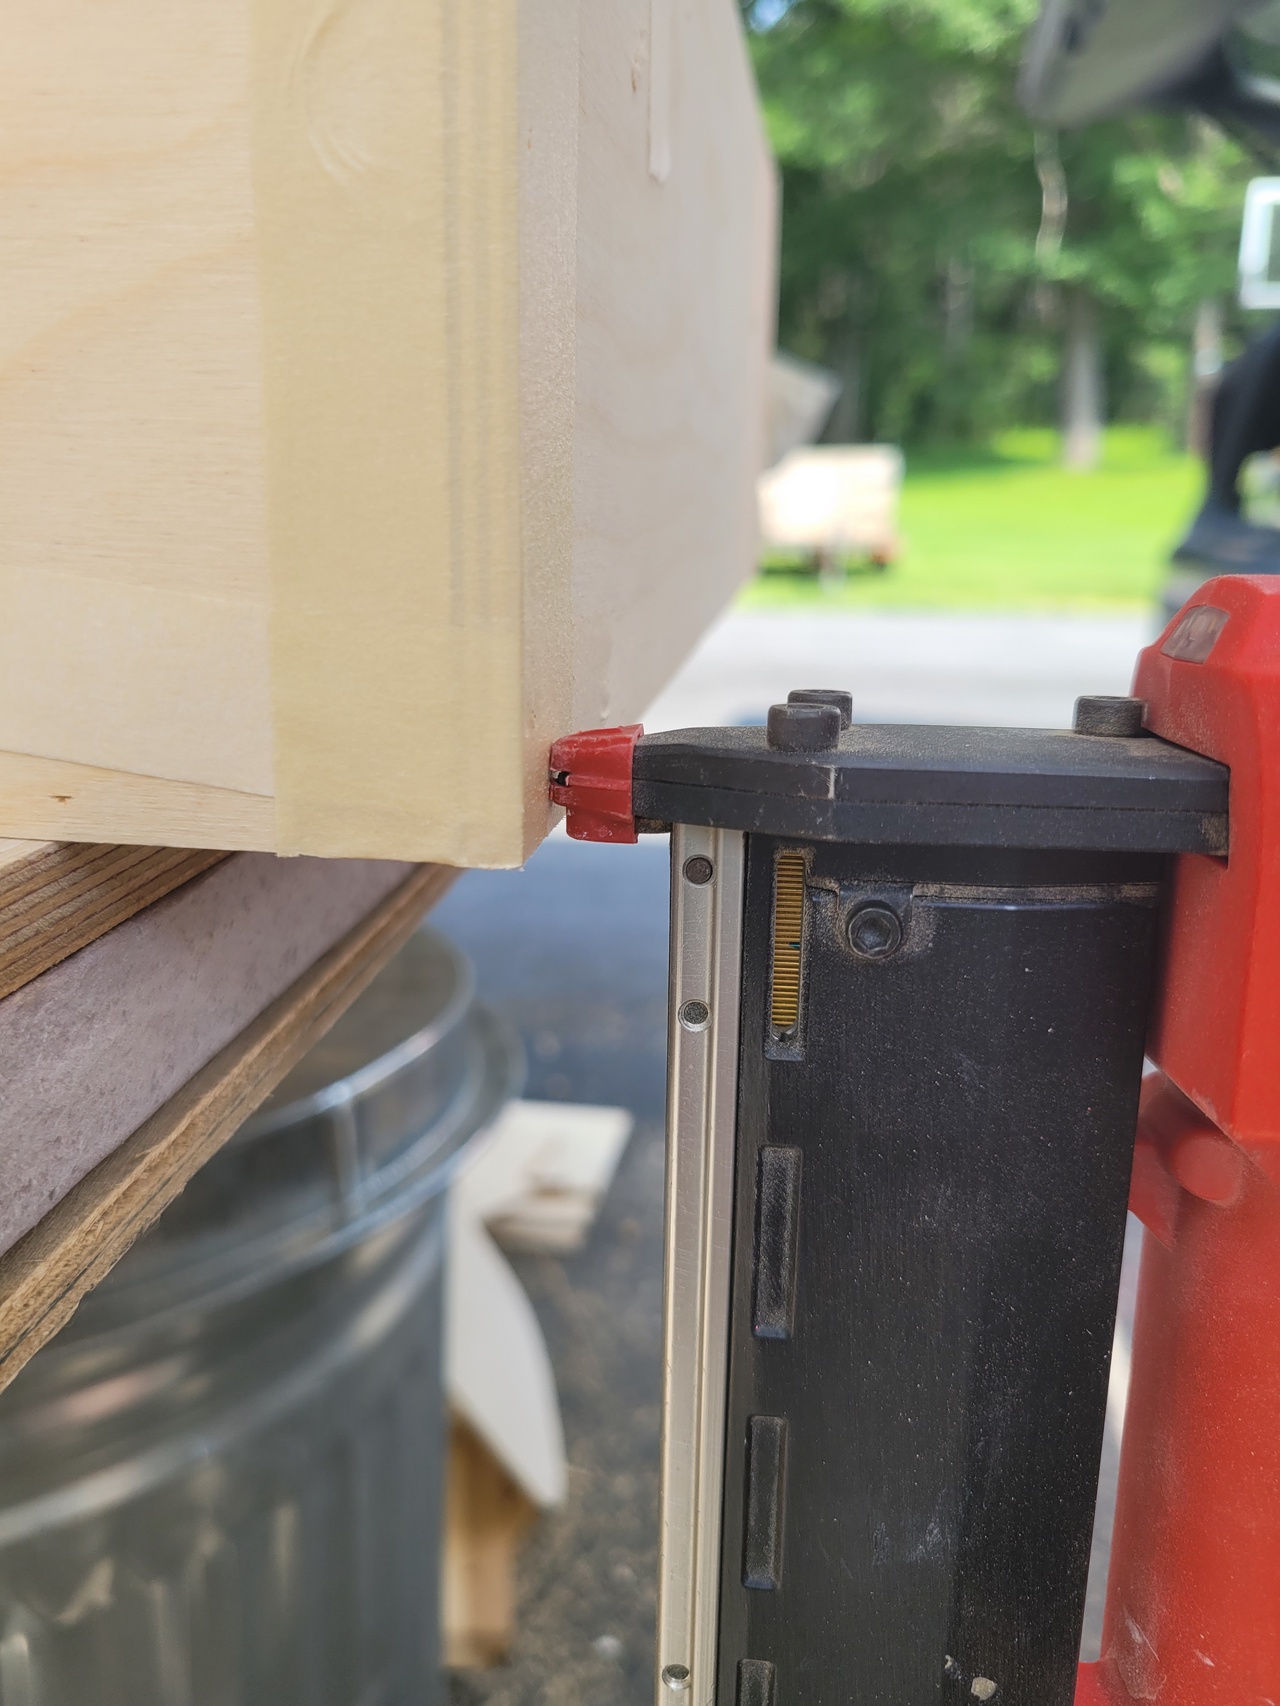
23g pin nails hold delightfully well
tape for joint alignment
TB quick and thick is like a CA/wood glue hybrid
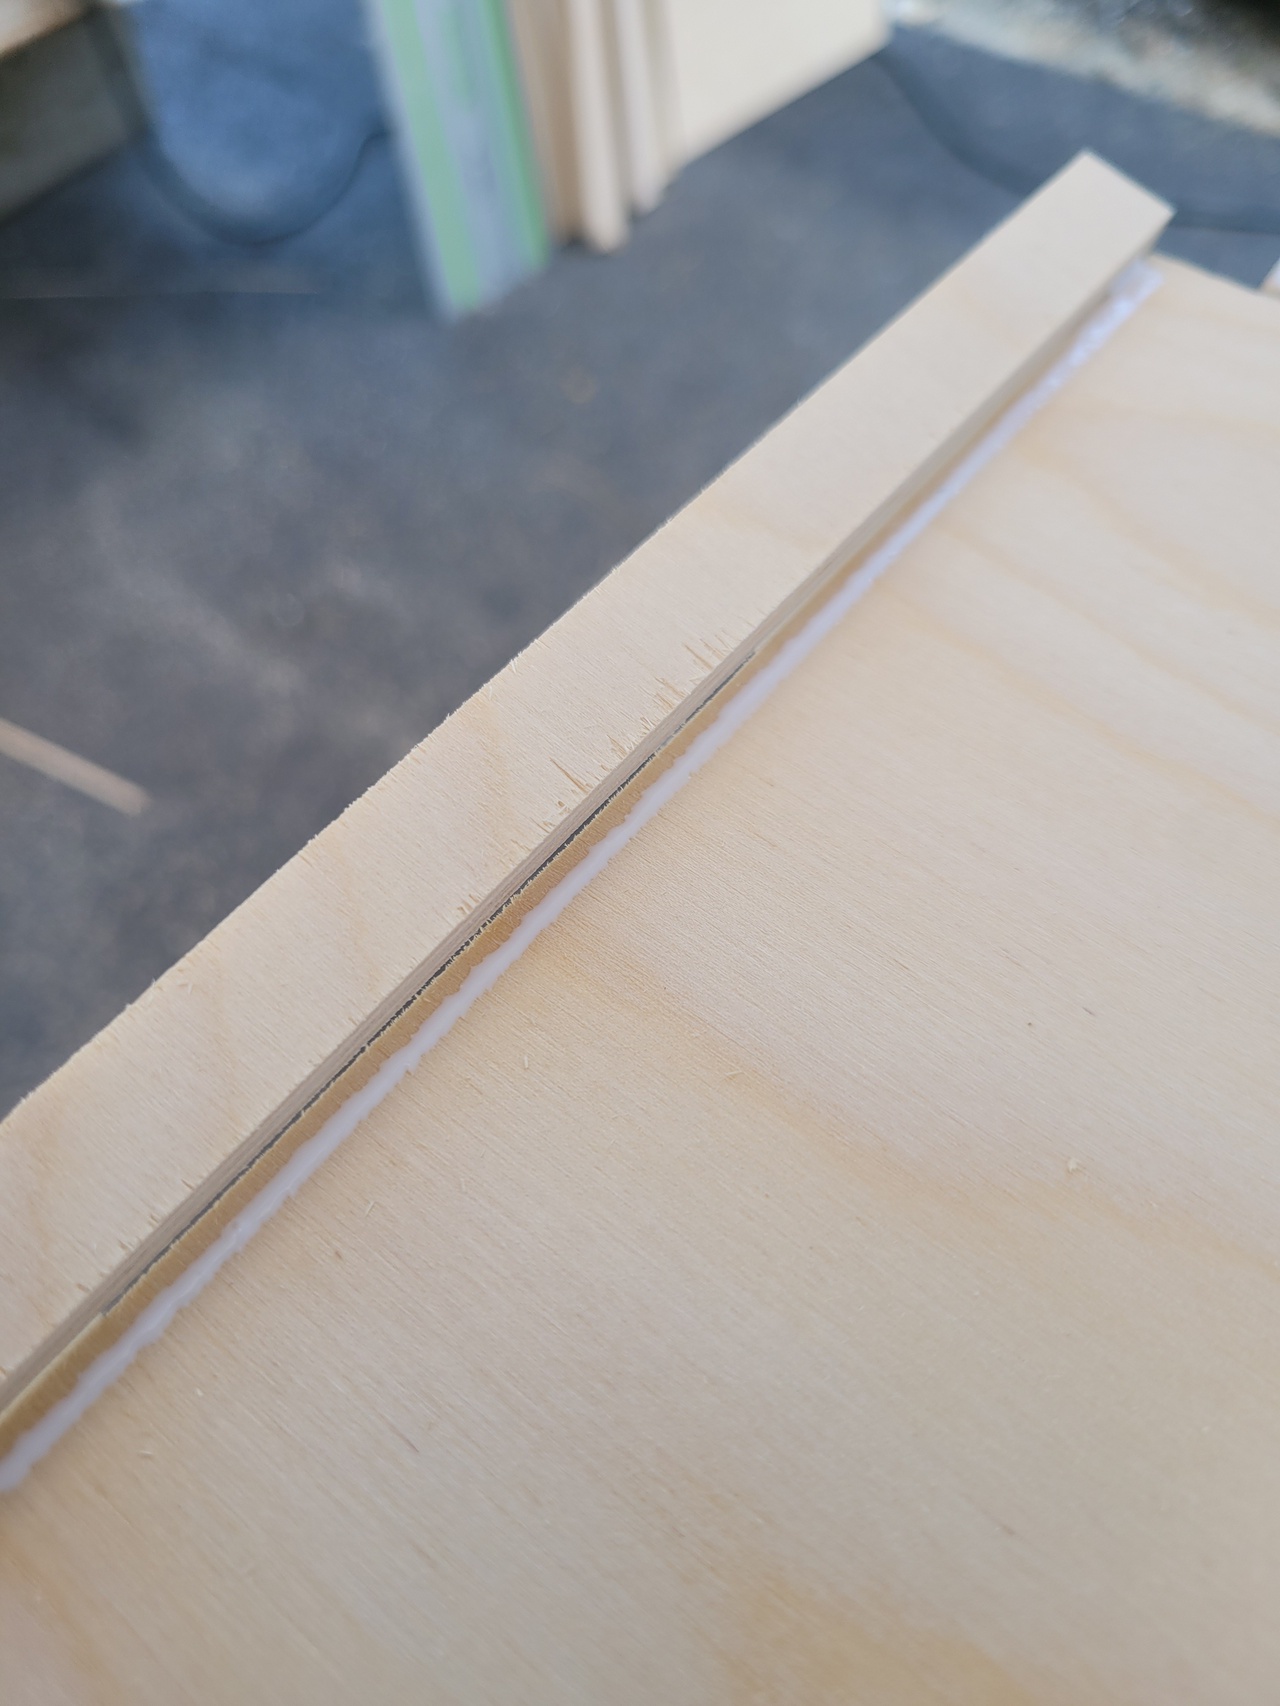
glued and pinned tray lip
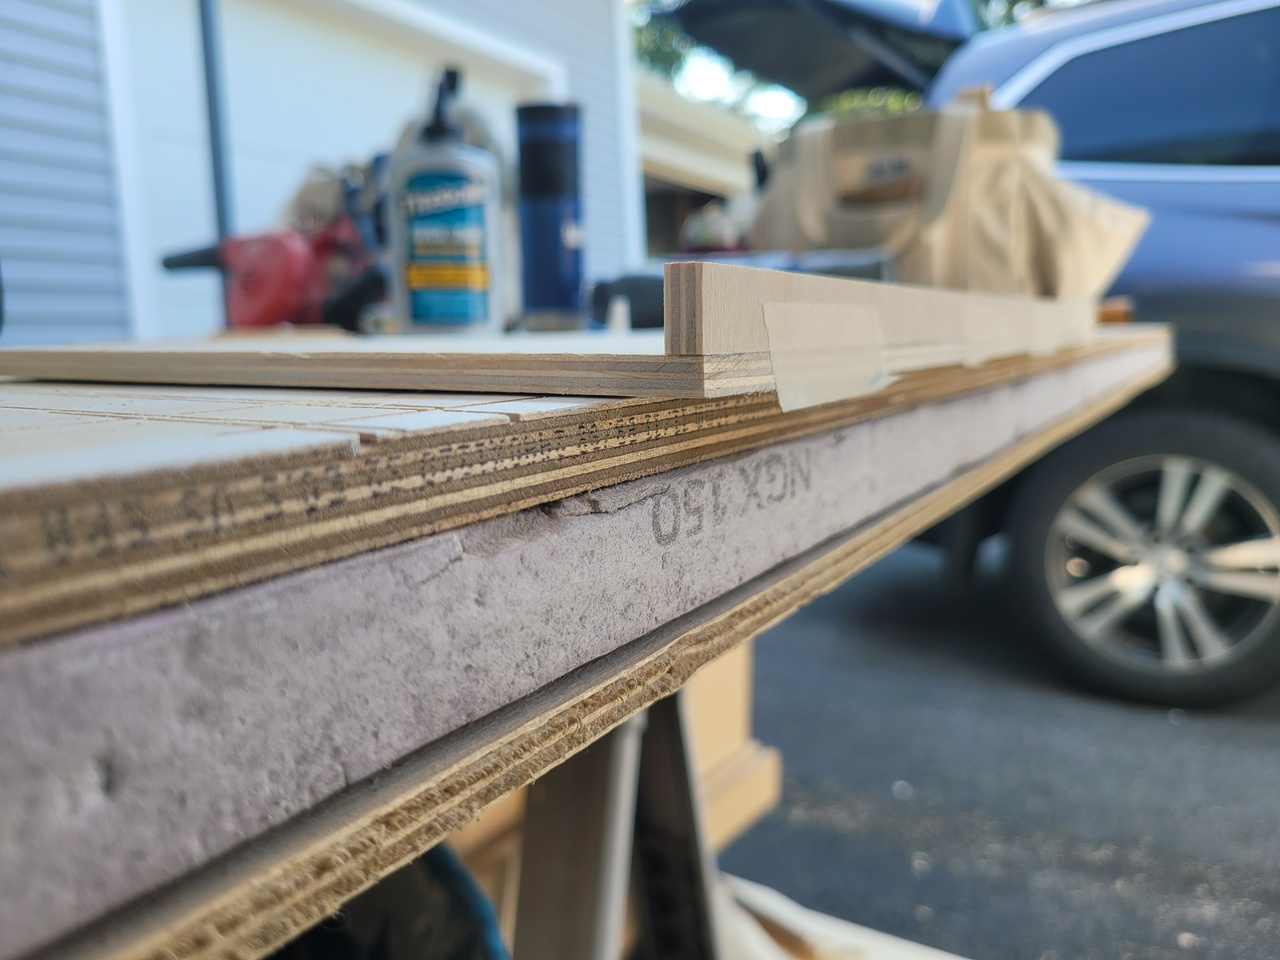
tape and plywood corner braces to secure the tray corner joint
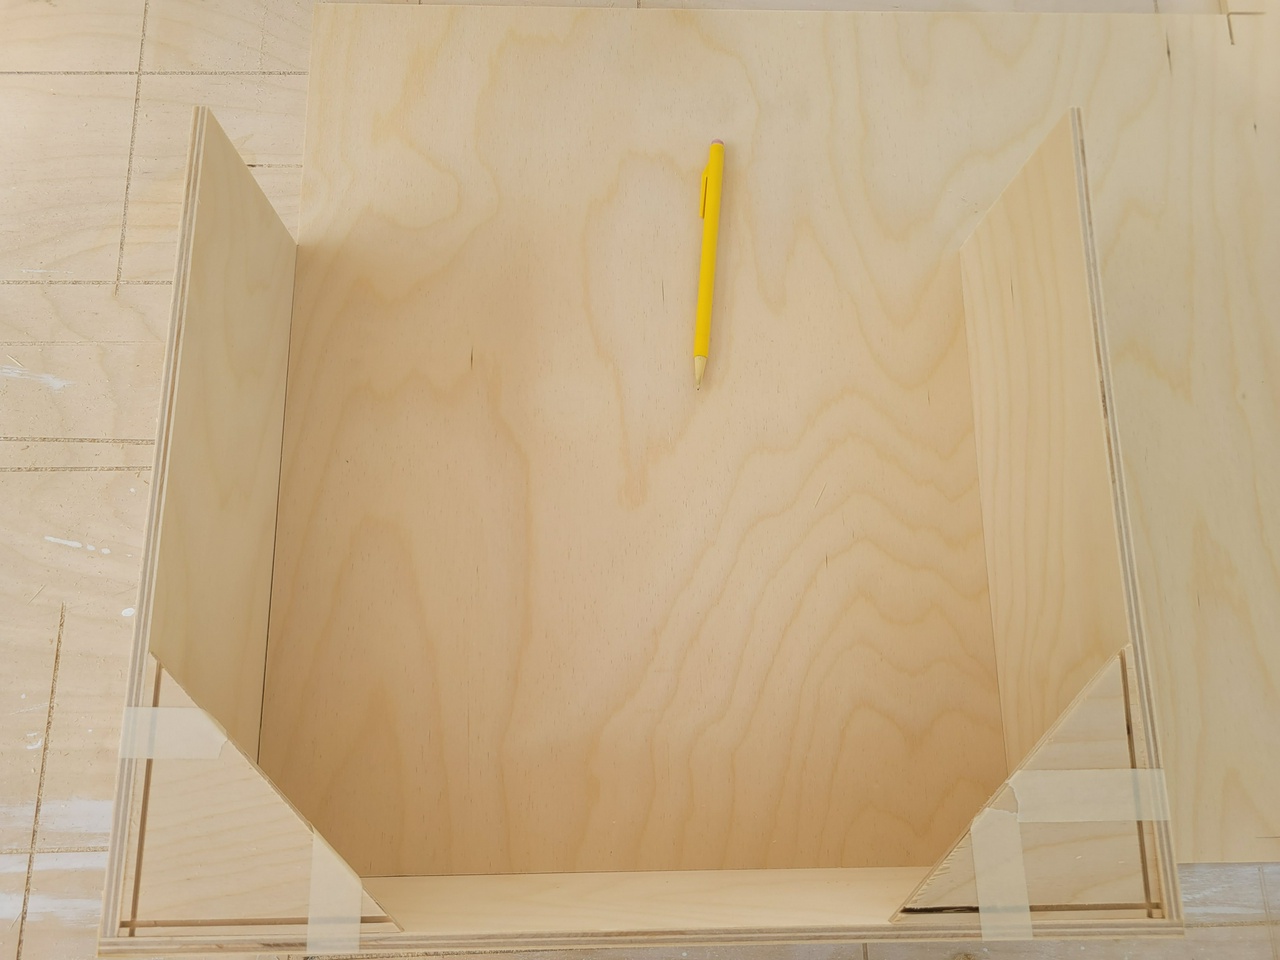
using the walls of the tray to size the bottom (use the piece to cut the part, no measuring)
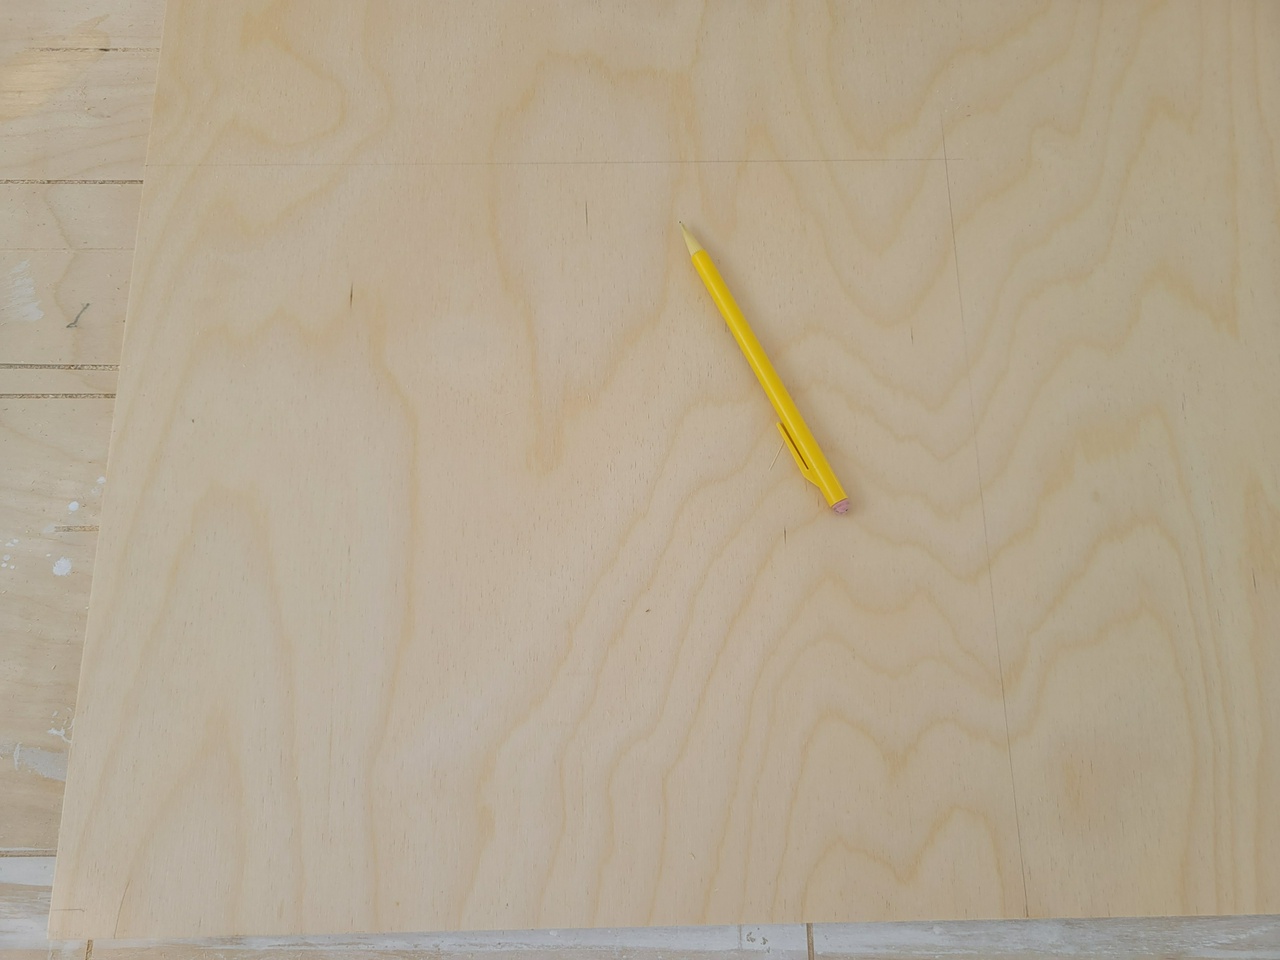
pencil lines define the cut for the tracksaw
tray bottom test fit
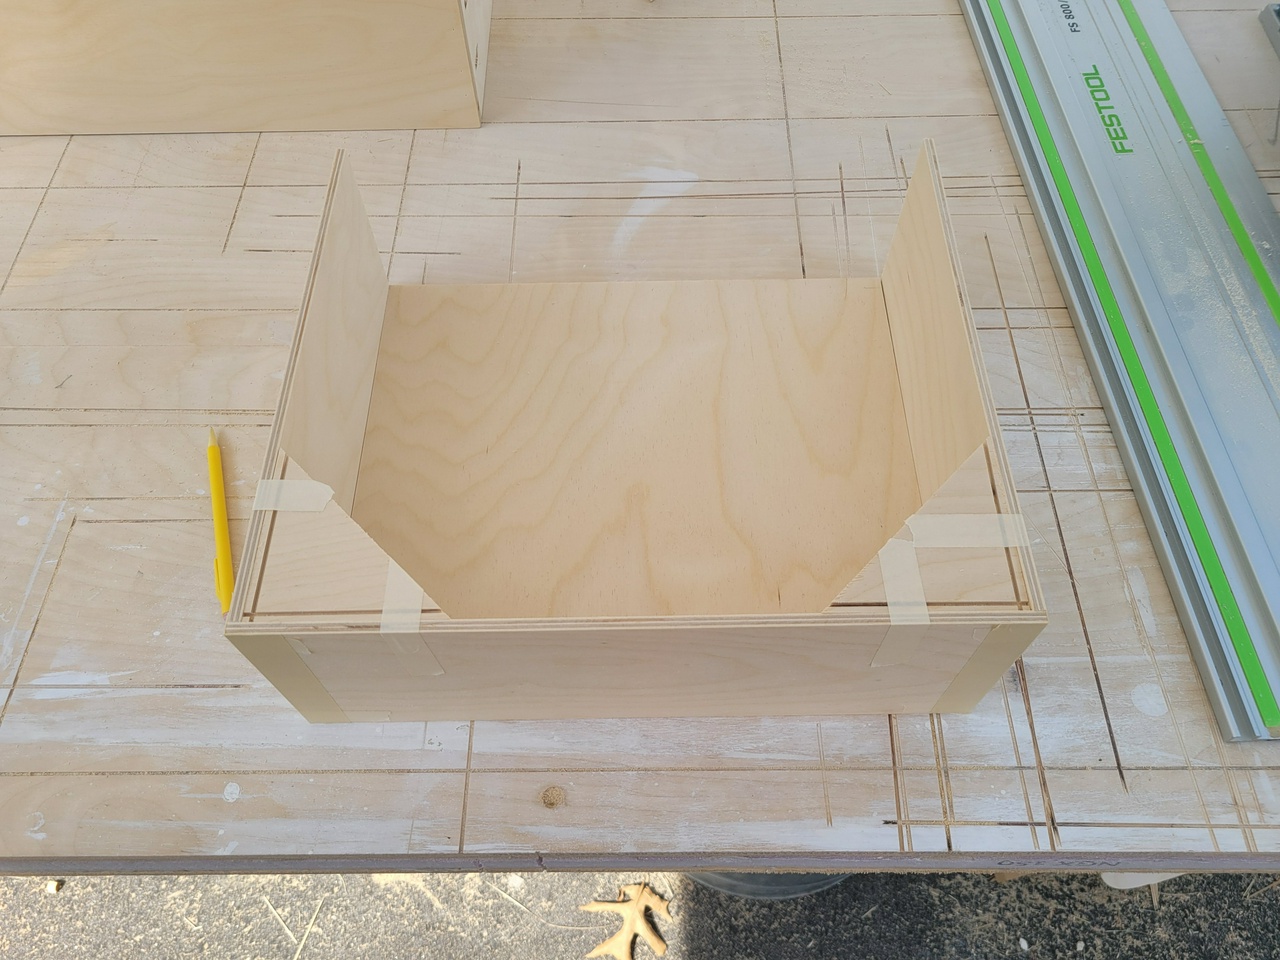
braces removed and tray sides laid flat for gluing
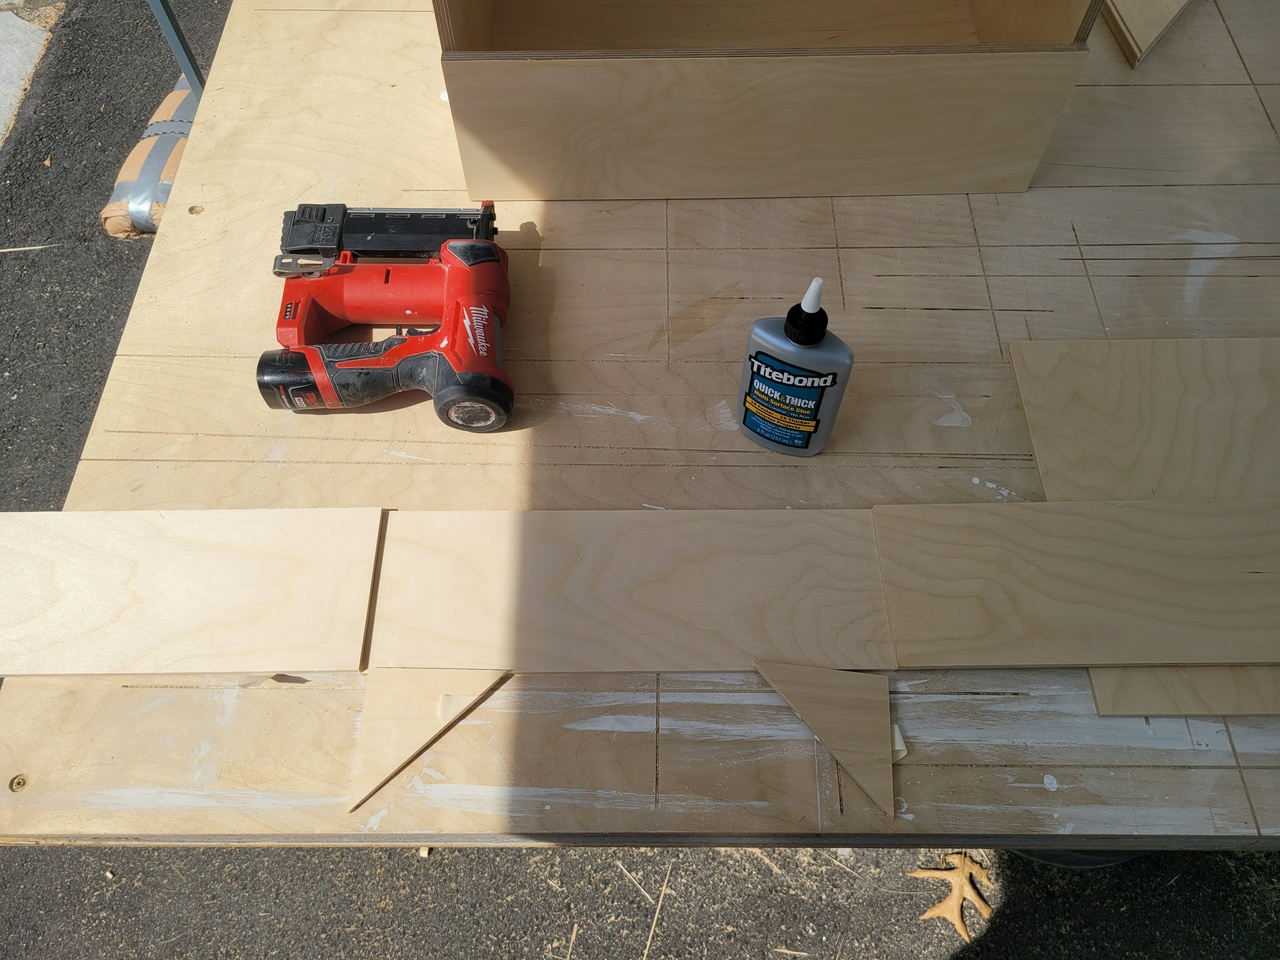
with the tape on the joints still in place, sides are simply rotated into position and the corner braces put back in place
the bottom is glued, slid into place around the walls, and nailed
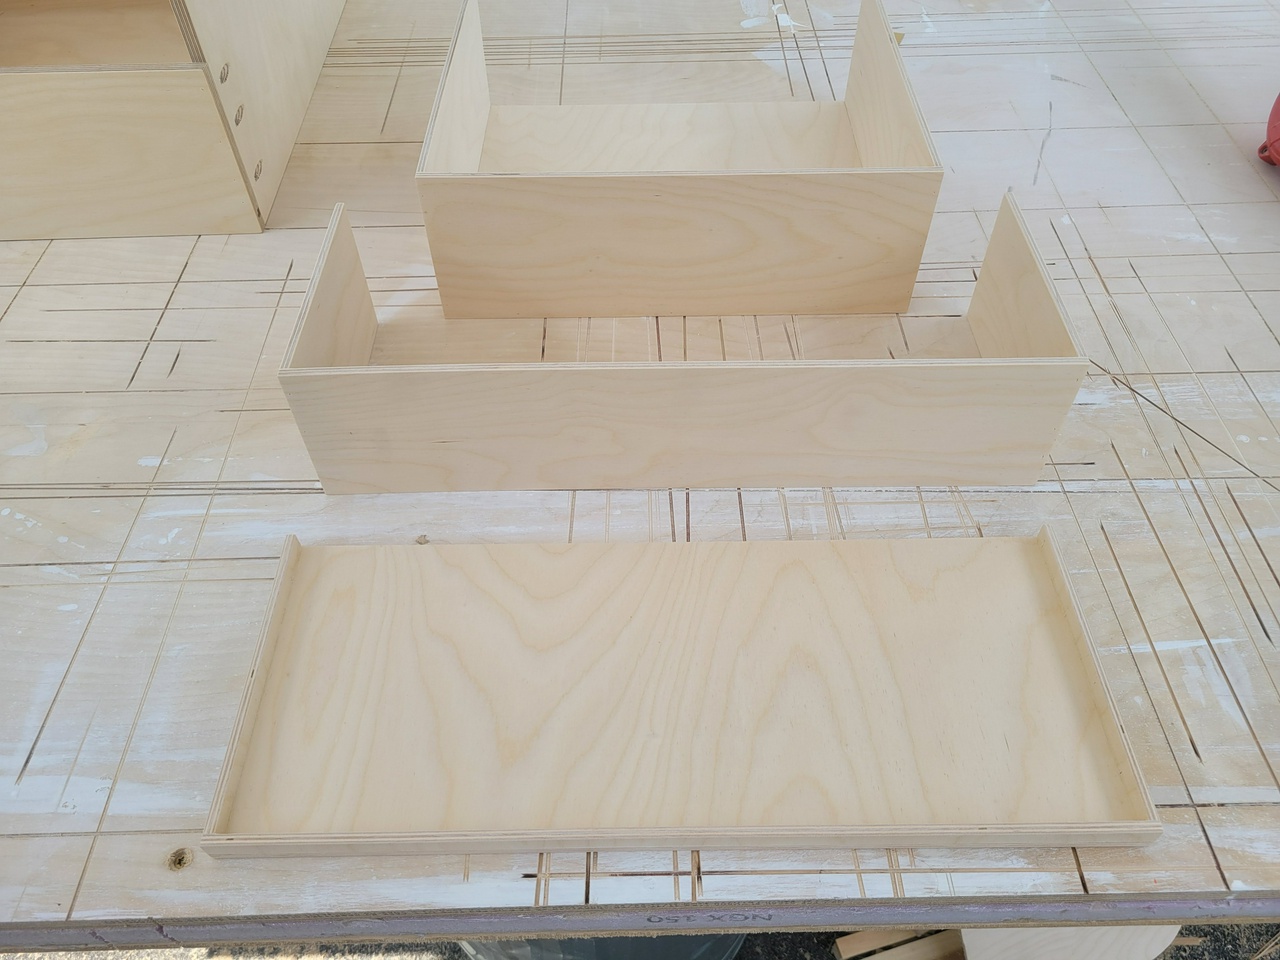
all three trays sanded, sealed, and ready to install
the completed TPO
completed TPO with bin